
Distress Oxide Ink - create textured backgrounds for your cards!
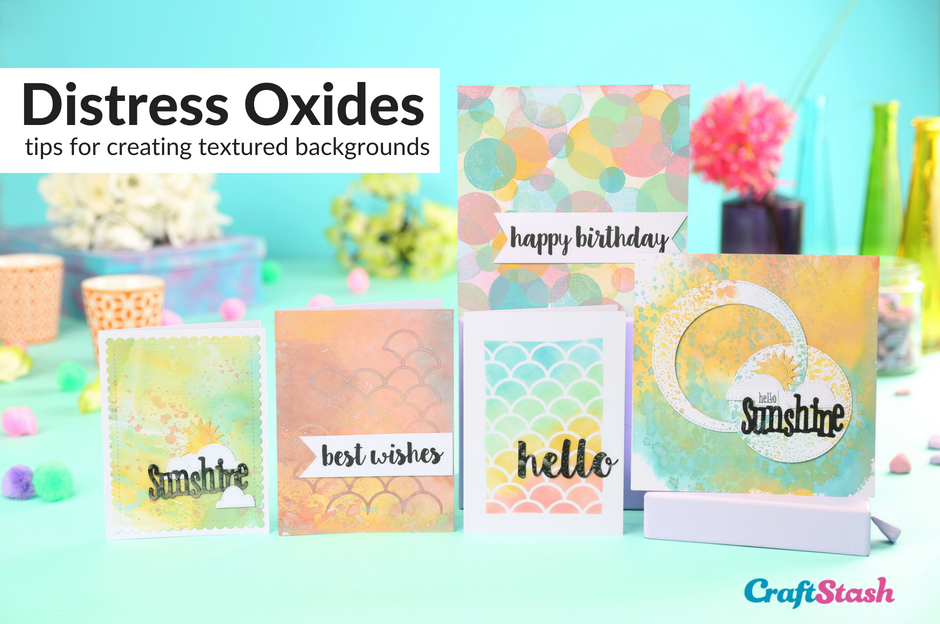
How to use Tim Holtz Distress Oxide Ink to create textured backgrounds
Master a range of inky techniques using Distress Oxide Ink with Kim Dellow’s easy-to-follow guide.How do Distress Oxide inks differ from Distress Ink?
Distress Oxide Ink by Tim Holtz, is a mix of dye and pigment ink, whereas Distress Ink is a dye-based pad. This means that you can layer Distress Oxide Ink more easily than you can the original Distress Ink as it is opaque. This also means that you won’t be as prone to getting mudded colours when layering some colour mixes, for example, if you layer complementary colours like green and red or yellow and purple etc. tones over each other. Also, as the Distress Oxide Ink is opaque, you can use it on darker cardstock and bases. It works with embossing powder really well too, which is great fun for incorporating heat-embossing techniques, and it dries with a chalk-like finish, unlike Distress Ink which is a more like watercolour with a transparent finish.
 Both Distress Oxide and Distress Ink are water reactive, although you might need to play around and experiment with the Distress Oxide Ink as it doesn’t reactive with water in the same way we are used to with traditional Distress Ink. Where Distress Oxide Ink works really well is adding texture layers with just one inkpad. You can achieve some lovely textures using these inkpads so experiment and play and see what looks you can get with them!
How to create texture using Distress Oxide Ink
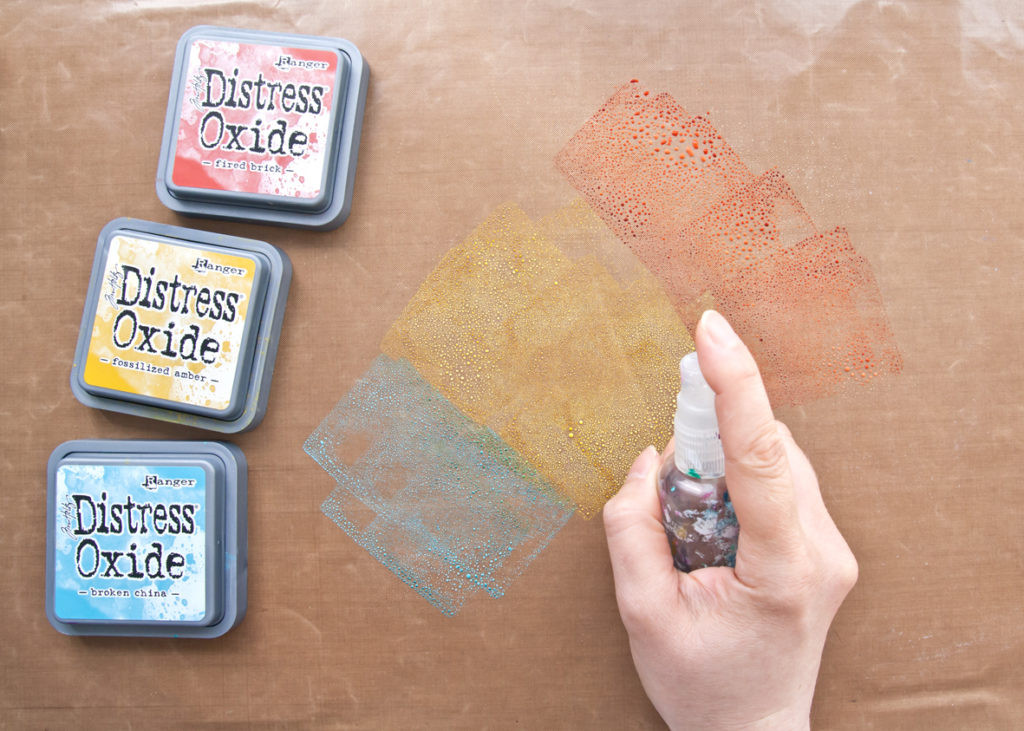 1 Press two or three colours of Distress Oxide Ink onto a craft mat and spritz with water until the ink forms small droplets.
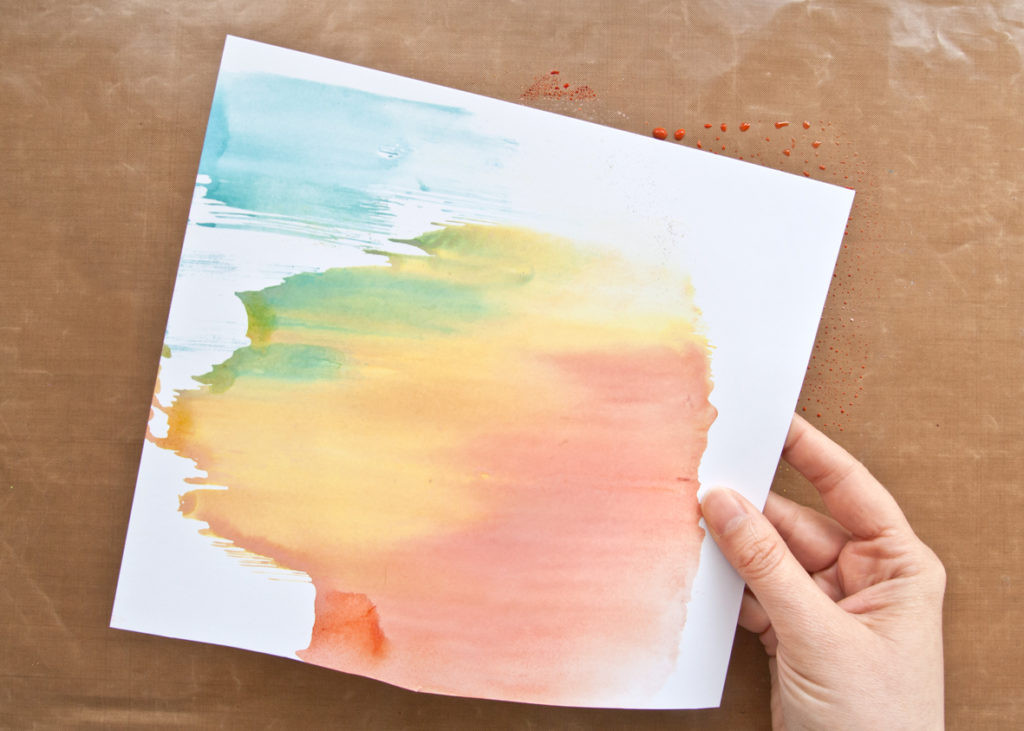 2 Slide white cardstock through the droplets a few times until the cardstock is mostly covered with colour then let it dry. Repeat to colour a few sheets until the ink on the mat is gone.
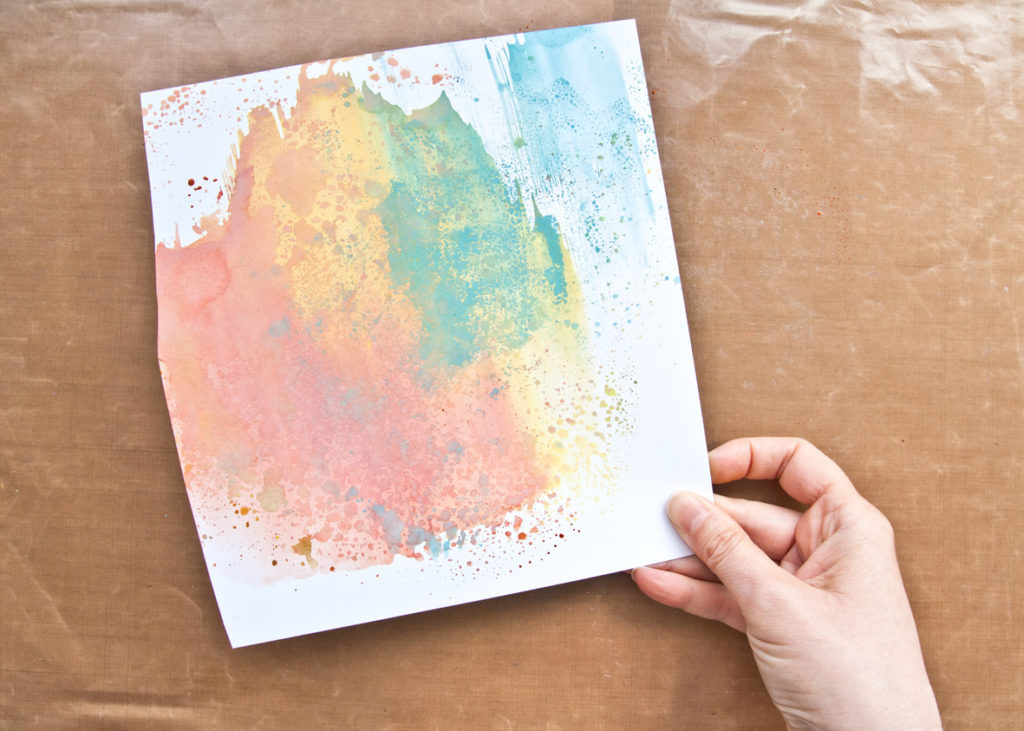 3 Press one to two colours of Distress Oxide once or twice onto the mat and spritz with water to form droplets then press the coloured cardstock from Step 2 onto the drops and lift up. Repeat as needed.
Top tips for creating textured backgrounds with oxide inks
Don’t be afraid to add more layers to see what textures you can achieve! You don’t always have to let a layer dry completely before adding the next Don’t forget that you can stamp and blend with these inks too!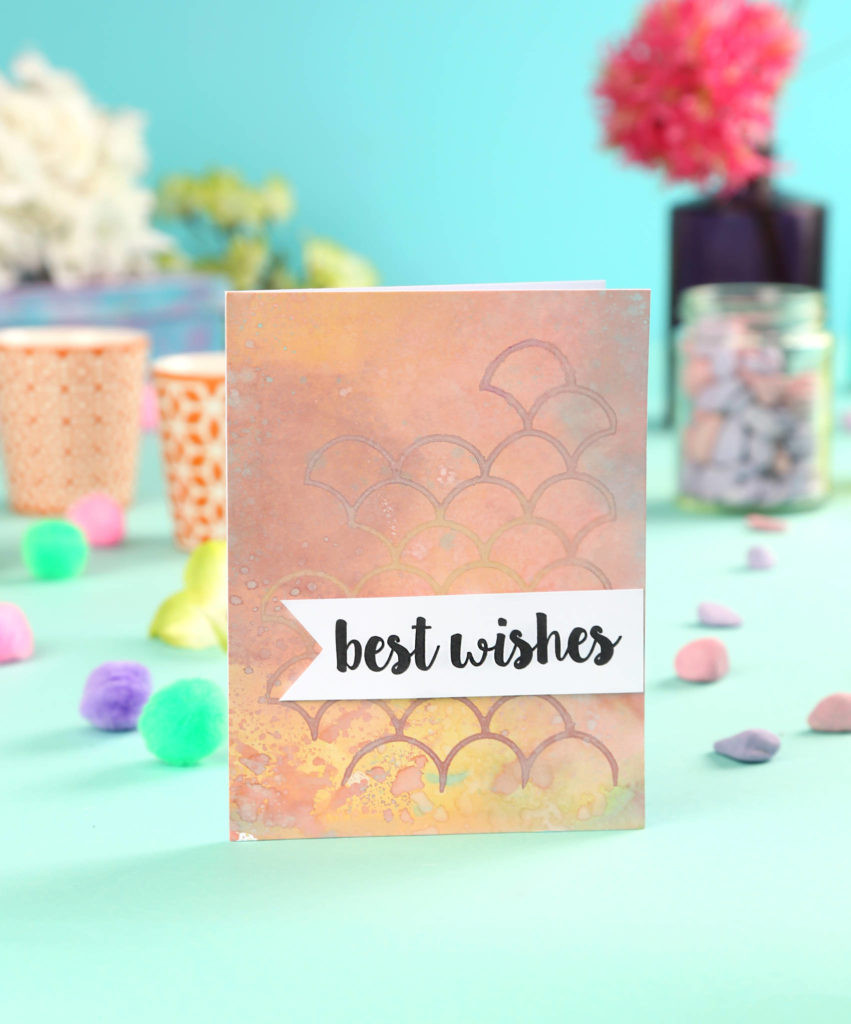
How to use Tim Holtz Distress Oxide Ink to create textured backgrounds
Master a range of inky techniques using Distress Oxide Ink with Kim Dellow’s easy-to-follow guide.How do Distress Oxide inks differ from Distress Ink?
Distress Oxide Ink by Tim Holtz, is a mix of dye and pigment ink, whereas Distress Ink is a dye-based pad. This means that you can layer Distress Oxide Ink more easily than you can the original Distress Ink as it is opaque. This also means that you won’t be as prone to getting mudded colours when layering some colour mixes, for example, if you layer complementary colours like green and red or yellow and purple etc. tones over each other.
Also, as the Distress Oxide Ink is opaque, you can use it on darker cardstock and bases. It works with embossing powder really well too, which is great fun for incorporating heat-embossing techniques, and it dries with a chalk-like finish, unlike Distress Ink which is a more like watercolour with a transparent finish.
Both Distress Oxide and Distress Ink are water reactive, although you might need to play around and experiment with the Distress Oxide Ink as it doesn’t reactive with water in the same way we are used to with traditional Distress Ink. Where Distress Oxide Ink works really well is adding texture layers with just one inkpad. You can achieve some lovely textures using these inkpads so experiment and play and see what looks you can get with them!
How to create texture using Distress Oxide Ink
1 Press two or three colours of Distress Oxide Ink onto a craft mat and spritz with water until the ink forms small droplets.
2 Slide white cardstock through the droplets a few times until the cardstock is mostly covered with colour then let it dry. Repeat to colour a few sheets until the ink on the mat is gone.
3 Press one to two colours of Distress Oxide once or twice onto the mat and spritz with water to form droplets then press the coloured cardstock from Step 2 onto the drops and lift up. Repeat as needed.
Top tips for creating textured backgrounds with oxide inks
Don’t be afraid to add more layers to see what textures you can achieve! You don’t always have to let a layer dry completely before adding the next Don’t forget that you can stamp and blend with these inks too!
Recent Posts
-
-
 Categories: AllFree Download
Free Rose Design Digital Papers, Toppers and Sentiments!
Free Floral Digital Papers and Digital Stamps -
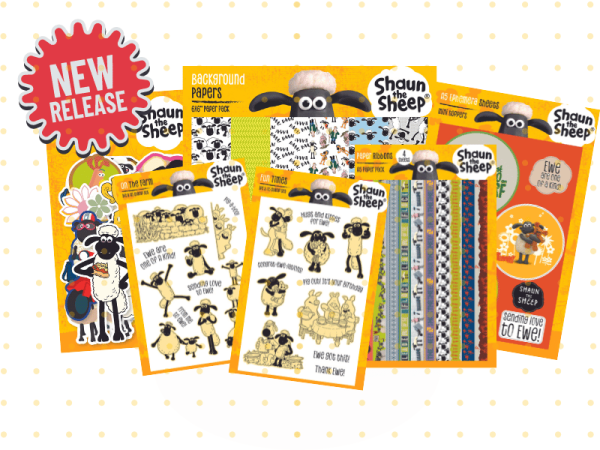
Shaun The Sheep Cardmaking - New Collection
Shaun The Sheep Cardmaking Collection -
 Categories: All
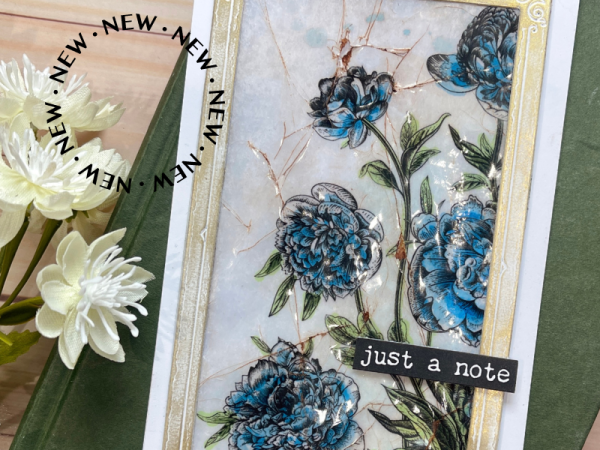
TEXT{ures} Opulence Collection & Vintage Effect Cardmaking Tutorial
New Opulence Collection and Vintage Effect Cardmaking Video -
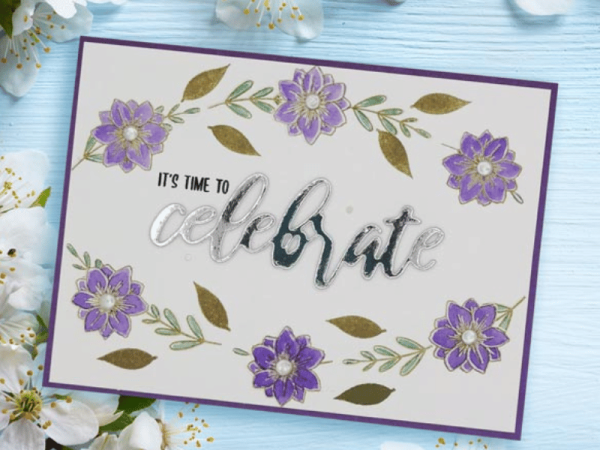
How to use our NEW Rotating Stamps & Layering Stencils
New Collection!

