5 Common STENCILLING MISTAKES & How to Fix Them
If you've found yourself frustrated with stenciling or less-than-perfect results, you might be making some common mistakes. In this blog post, I'll walk you through these errors and show you how to rectify them.

Stenciling can be a delightful way to add texture and flair to your crafting projects. However, it's not always smooth sailing. If you've found yourself frustrated with stenciling or less-than-perfect results, you might be making some common mistakes. In this blog post, I'll walk you through these errors and show you how to rectify them. Whether you're using inks, sprays, texture paste, or even a die-cutting machine for dry embossing, I've got you covered. Let's dive in!
Shop our range of stencilling tools at CraftStash

Mistake 1: Neglecting to Secure Your Stencil

One fundamental error many crafters make is failing to secure their stencil adequately. Even if it seems unnecessary, using a temporary adhesive, like spray or glue, to attach your stencil to your cardstock is crucial. This prevents ink, paint, or other mediums from creeping under the edges of the stencil. If you have intricate details in your stencil, this step is even more critical.
How to Fix It: Use a repositionable adhesive to secure your stencil, and if your stencil has fine details, consider using a foam applicator for ink blending.
Mistake 2: Using Textured Cardstock

Trying to stencil on cardstock with excessive texture can lead to uneven results. Stenciling works best on smooth or slightly textured surfaces, so avoid overly bumpy cardstock.
How to Fix It: Opt for cardstock with minimal texture for smoother stenciling outcomes.
Shop our range of stencilling tools at CraftStash
Mistake 3: Inconsistent Blending Technique

When applying colour through a stencil, many people fail to maintain a consistent blending technique. Stencils are resistant to inks, which allows you to blend and spread the colour effectively. However, inconsistency in blending can lead to missed areas and a less-than-perfect result.
How to Fix It: Use a flat blending brush and work in small, circular motions, going both clockwise and anti-clockwise. This technique ensures you cover all the angles and details of your stencil.
Mistake 4: Not Cleaning the Stencil

Failure to clean your stencil immediately after use can result in residue build-up, especially if you're using texture paste. Neglecting this step can affect the quality of your stenciling.
How to Fix It: Wash your stencil under warm soapy water and allow it to air dry or pat it dry with a towel. Regular cleaning keeps your stencils in top shape.
Mistake 5: Applying Excessive Product

Whether you're using ink sprays or other wet mediums, applying too much product at once can cause it to pool and seep under the stencil, resulting in smudges.
How to Fix It: Apply products lightly, let them soak in, and then reapply if necessary. For ink sprays, avoid pooling by spraying lightly from above and use a paper towel to soak up excess product.
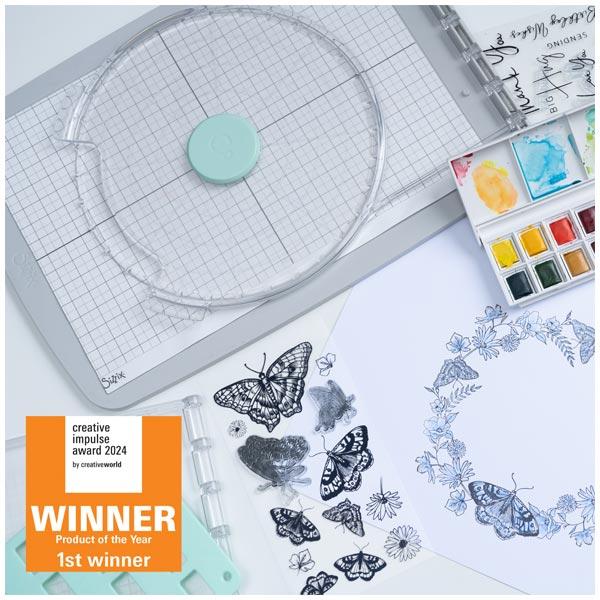
Bonus Tip: Try Dry Embossing with Your Stencil

One technique that is often overlooked is using your stencil in a die-cutting machine for dry embossing. Use a rubber mat to achieve the best results. Place the rubber mat down first, followed by the stencil, then your paper or cardstock, and finally the top plate. This technique creates a beautiful embossed design.
How to Do It: Run the materials through the machine slowly to ensure all the details transfer to your paper or cardstock.

Stenciling can be a fantastic way to enhance your crafting projects, but it's essential to avoid common mistakes for the best results. By securing your stencil, choosing the right cardstock, blending consistently, cleaning your stencils, and applying products judiciously, you can achieve stenciling perfection. Plus, don't forget to explore the world of dry embossing with your stencils for added dimension and texture. Happy stenciling!
Shop our range of stencilling tools at CraftStash
Watch the full video here!
Related Products


Recent Posts
-
 Categories: AllFree Download
Made To Surprise Papercraft Society Free Downloads
Free Made To Surprise Papercraft Society Box Downloads! -

-
 Categories: All
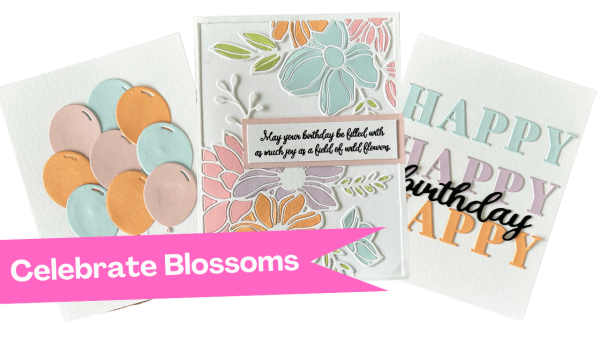
Creative Ways to Use Cover Plate Dies in Your Cardmaking Projects with New Celebrate Blossoms Release from Justine Hovey
New Celebrate Blossoms from It's Just Paper -
-