Creative Ways to Use Cover Plate Dies in Your Cardmaking Projects with New Celebrate Blossoms Release from Justine Hovey
New Celebrate Blossoms from It's Just Paper

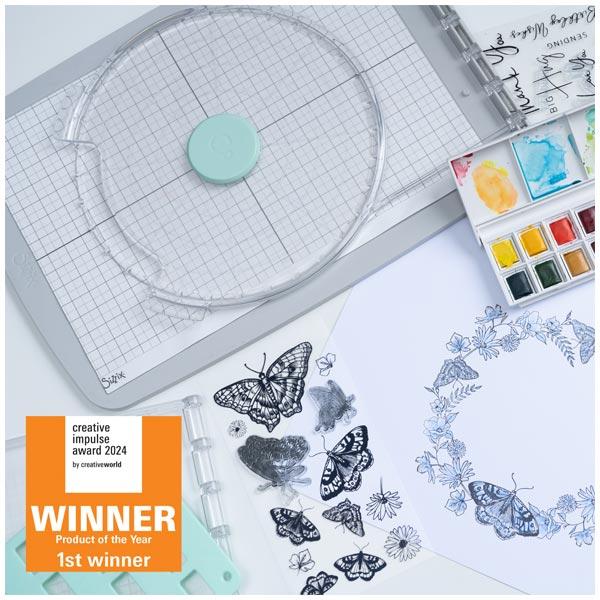
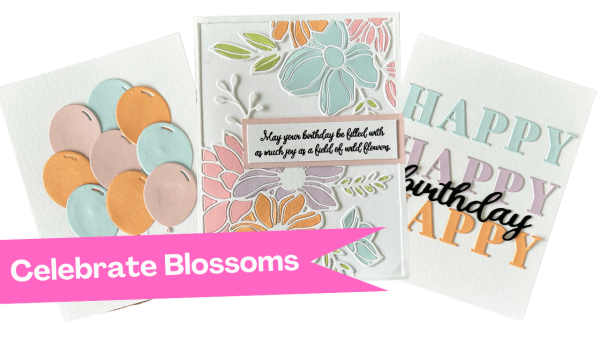
The Celebrate Blossoms Collection by It's Just Paper is a vibrant explosion of floral motifs ideal for crafting spring and birthday-themed cards. This collection encompasses an array of dies, stamps, and a stencil, featuring designs of blossoms, greenery, and birthday balloons. These elements seamlessly blend to create stunning, modern papercraft projects.


7 Ways with Cover Plate Dies
If you're anything like me, you want to get the most out of your crafting tools. Cover plate dies are a versatile addition to your card-making arsenal, and today, I'm going to show you several creative techniques to make the most out of them using my brand new collection "Celebrate Blossoms".
x Justine
Cover Plate Technique 1: Simple Background

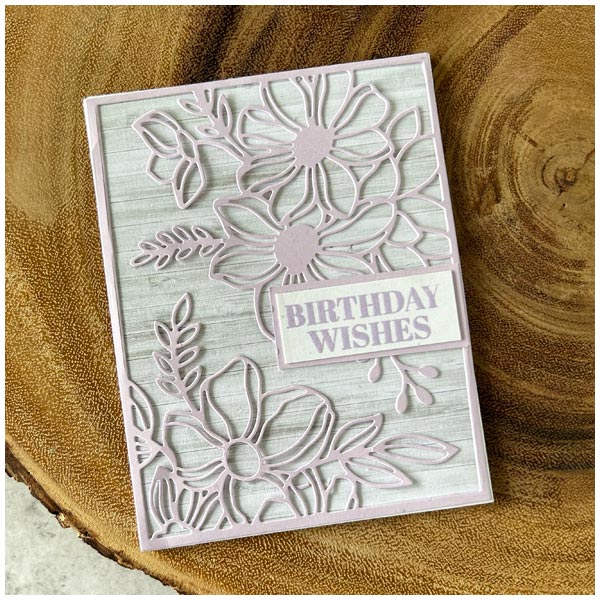
One of the easiest ways to use a cover plate die is to create a simple background. Choose a light colour palette and run the die through with your favourite cardstock. I used a combination of lilac, pink champagne, creamsicle, white, and powder blue to create my background. The cover plate die I used is from the Celebrate Blossom Collection
Simply glue the die-cut onto a white card base using precision glue, which helps with the intricate details. This simple background sets the stage for further embellishments, such as sentiments and other decorations, which I usually add at the end.
Cover Plate Technique 2: Cutting Away Elements

Another way to use cover plate dies is to cut away certain elements, giving you a unique design each time. You can cut away flowers, leaves, or even entire corners to create a completely new look. For a twist, try using a neutral-coloured die cut on a coloured card base for a striking contrast.
Cover Plate Technique 3: Layered Design
For this technique, I layered a coloured die-cut over a different coloured card base. After die-cutting, clip the corners diagonally for a dynamic edge. Glue the layered piece onto your card base, and you have a unique, eye-catching design. This technique is perfect for adding dimension and interest to your cards.
Cover Plate Technique 4: Using Patterned Paper

Why not add some flair to your backgrounds with patterned paper? Instead of a plain card base, use a patterned one and then layer your cover plate die on top. This technique adds excitement and texture to your card, making it ideal for quick and easy projects.
Cover Plate Technique 5: Paper Piecing

Cover plate dies can be used as templates for paper piecing. Start by attaching the cover plate die to your card base with repositionable tape. Then, fill in the spaces with various coloured cardstock pieces. You can create a full background or focus on specific areas, like the top, bottom, or middle. This technique adds colour and depth to your cards without overwhelming them.
Cover Plate Technique 6: Creating a Collage

Certain cover plate dies offer removable elements that can be used to create collages. After cutting out your die, remove the elements and arrange them into a unique design. Avoid placing similar colours next to each other for better contrast. Once you're happy with the arrangement, glue the pieces down individually. This technique allows for a high degree of creativity and customization.
Cover Plate Technique 7: Cutting the Cover Plate in Half

For this technique, cut your cover plate die in half. This gives you two pieces to work with, allowing you to create multiple cards from one die-cut. To finish the cut edge, use a strip of cardstock, such as black, white, or a metallic shade, to create a clean look. This technique adds versatility and can be used for a variety of card designs.
These are just a few of the many ways you can use cover plate dies to create stunning cards. With a little creativity and imagination, the possibilities are endless. I hope these techniques inspire you to try something new the next time you sit down to craft.
Recent Posts
-
 Categories: All
New Made To Surprise "Frame It" Collection
New Frame It Collection from made To Surprise -
 Categories: AllFree Download
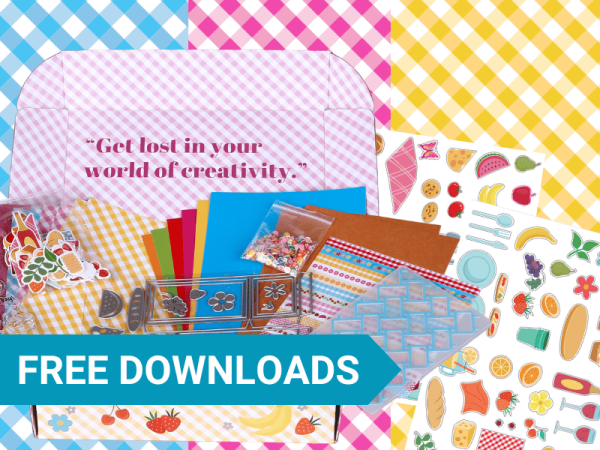
Made To Surprise Papercraft Society Free Downloads
Free Made To Surprise Papercraft Society Box Downloads! -

-
 Categories: All
Creative Ways to Use Cover Plate Dies in Your Cardmaking Projects with New Celebrate Blossoms Release from Justine Hovey
New Celebrate Blossoms from It's Just Paper -