
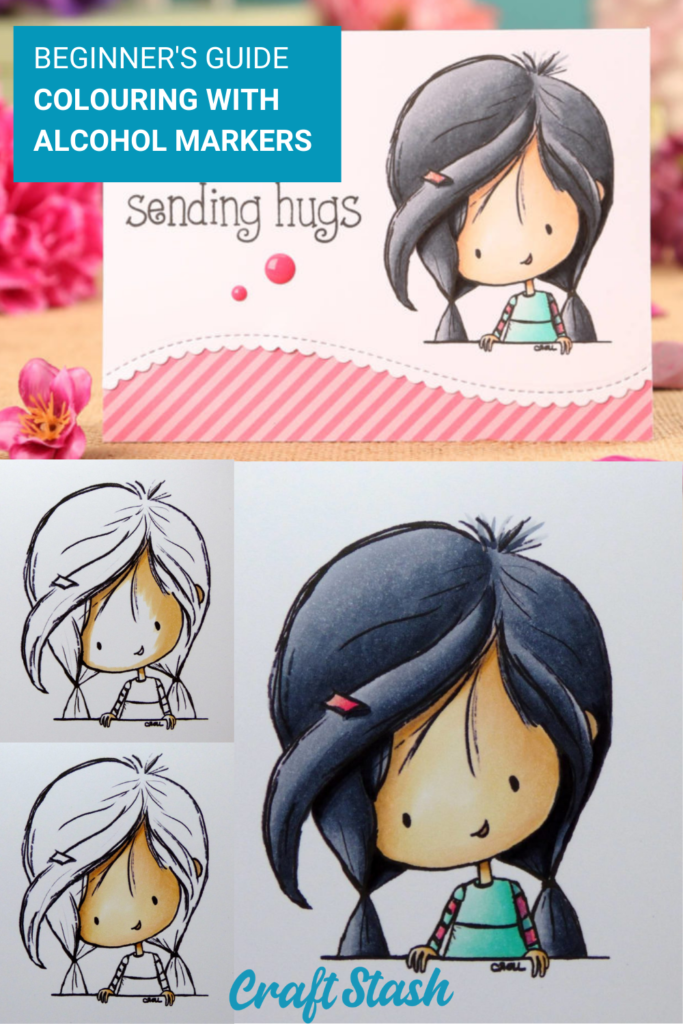
Beginner's Guide to Colouring with Alcohol Markers
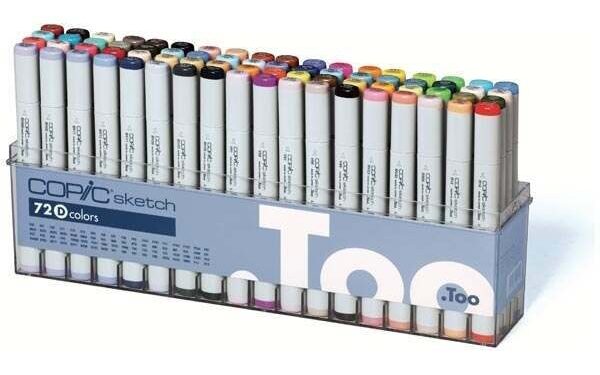
At CraftStash we stock a huge range of alcohol marker pens and we're often asked by our customers for tips on how to get the best results when colouring with alcohol markers. In this beginner's guide to smooth colouring with Copic alcohol markers, Faye Wynne Jones share's her tips for getting the best results.
Colouring with Alcohol Pens and Markers
At CraftStash we stock a huge range of alcohol marker pens and we're often asked by our customers for tips on how to get the best results when colouring with alcohol markers. In this beginner's guide to smooth colouring with Copic alcohol markers, Faye Wynne Jones shares her tips for getting the best results.
How to Colour with Alcohol Markers
When starting out using Copics, or in fact colouring with any alcohol marker, the first thing you want to master is laying down the ink smoothly so you can achieve a seamless transition between colours.
Get familiar with your pens and how they work with each other and the card you use. Play with them, so you learn which colours work well together and which colours require a little more coaxing to blend.
Practise your pen strokes. Do you get on better colouring in a circular motion or do fat flicks using the side of the nib work better?
How to colour with alcohol markers - Is it Light to dark or dark to light?
Depending on what I’m colouring, sometimes I colour light to dark, other times dark to light. For the step-by-step feature below, I’ve coloured everything dark to light to keep things consistent. However, play around with both ways of laying down the ink to see what works best for you. And remember, just because it works now, things may change as your colouring develops, so keep playing around. Change is OK!
When you are learning to colour, it can be easy to get caught up in the idea of what you are colouring instead of what you are trying to achieve. For example, ‘I am trying to colour a face’, rather than ‘I am trying to blend smoothly’. Draw some circles and practise colouring them in. By taking away the face, you’ll focus on what you are trying to do. Get it right on a circle and it is easy to carry the skill to a face, hair, a dress…
Take your time!
Taking some time at the beginning to get to grips with smooth colouring will pay dividends further down the line when you are trying to blend folds in fabric, or transitioning turquoise into peach, for example.
Remember, an image coloured simply but well looks just as beautiful as an image that has been coloured with many details. But most of all, have fun with it!
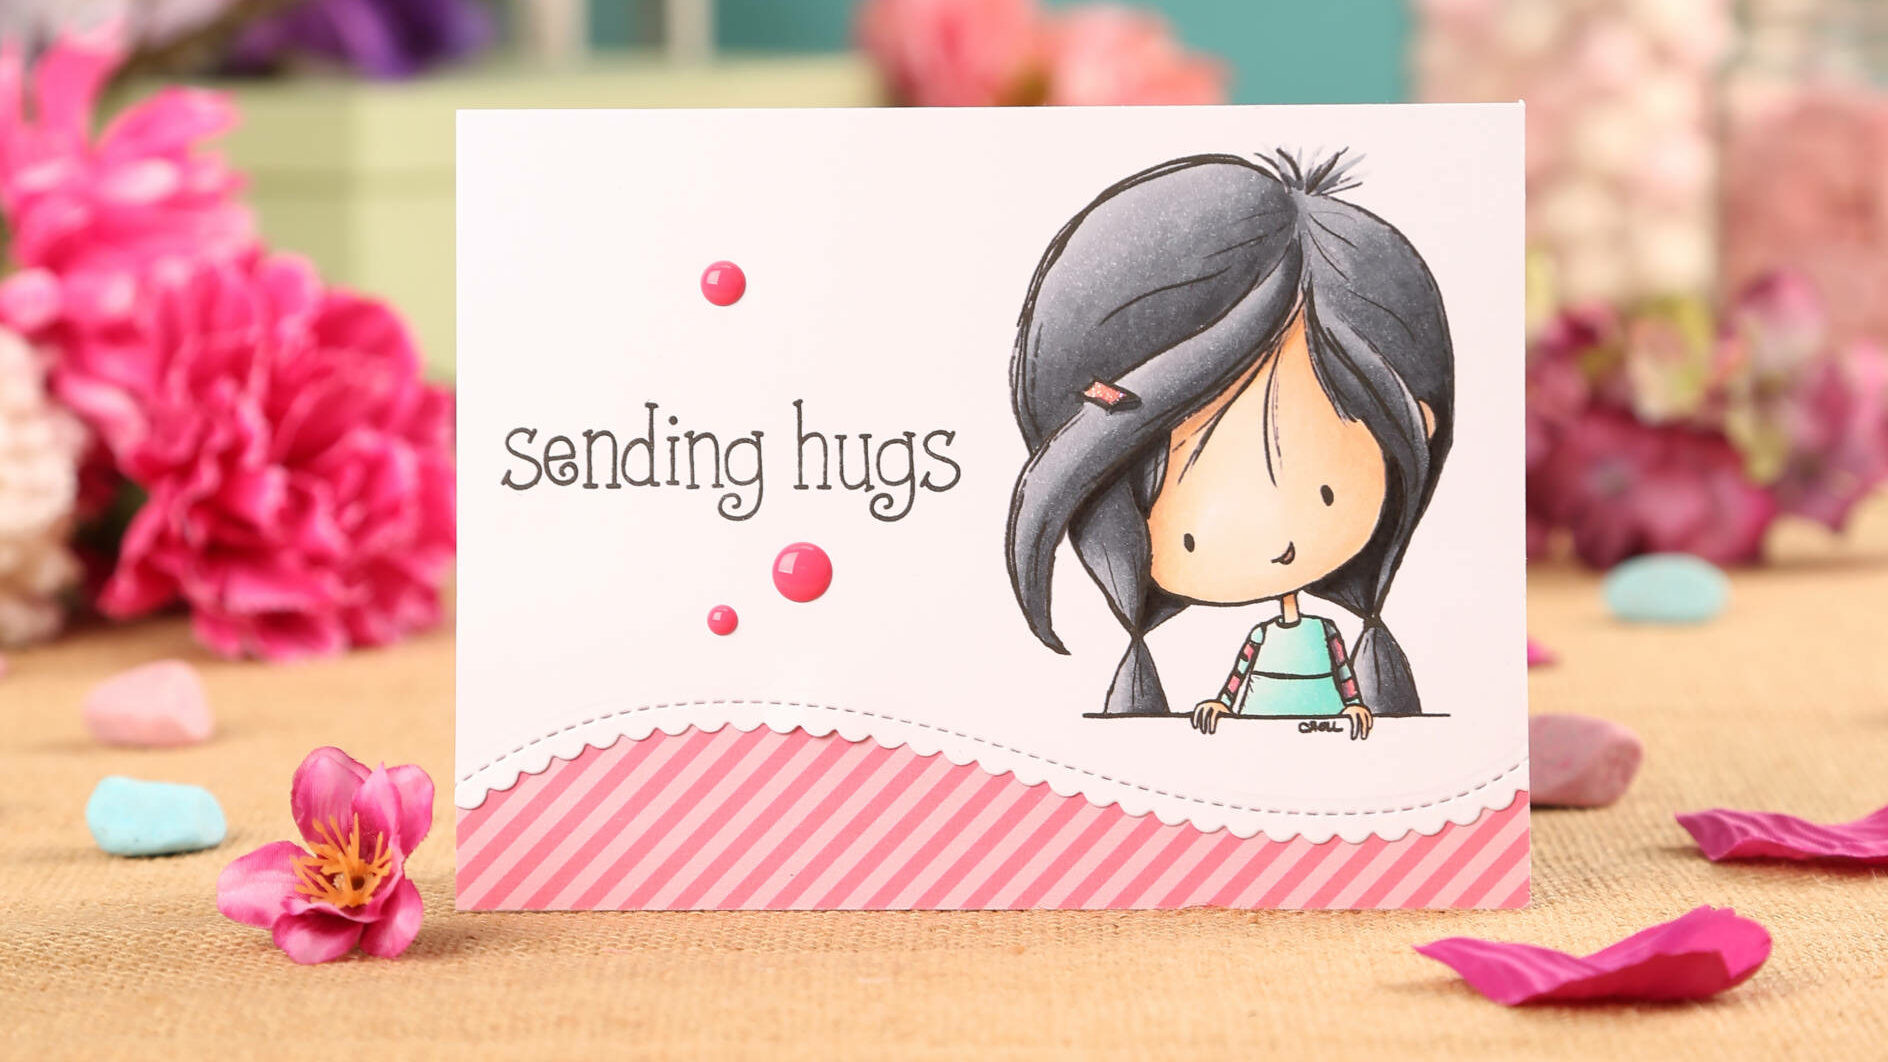
Tips for Smooth Colouring with Alcohol Markers
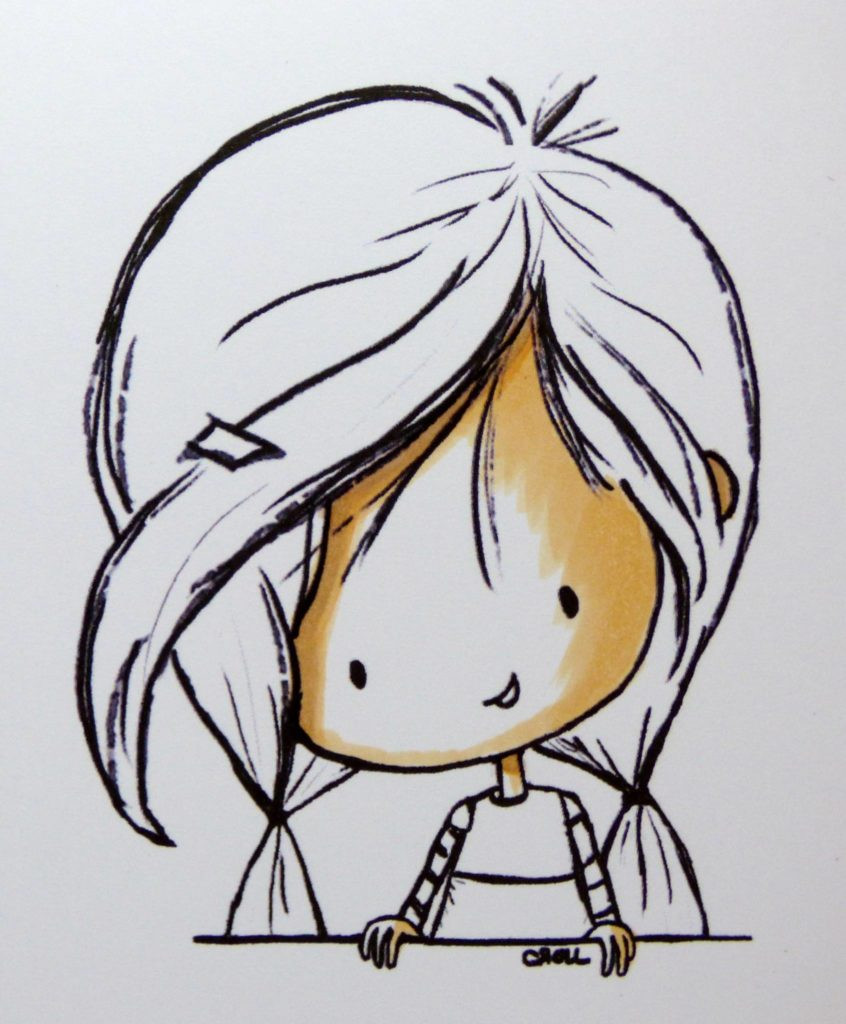
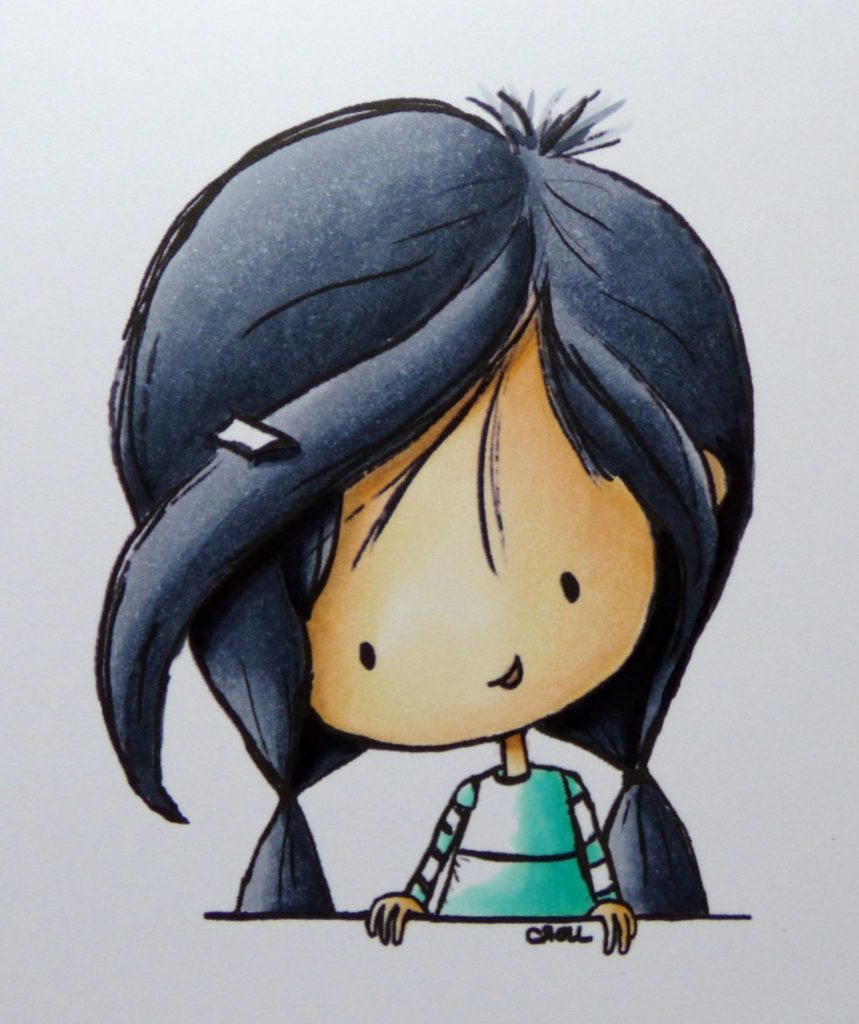
1 Decide where your light source will come from and begin by laying down the darkest colour, E21, in areas that will have the most shading.
2 Use E71 to mark shadows under the fringe and go over the top using E21 to soften the colour. Pull some E21 towards the centre of the face using E00. Close the white space using E50.
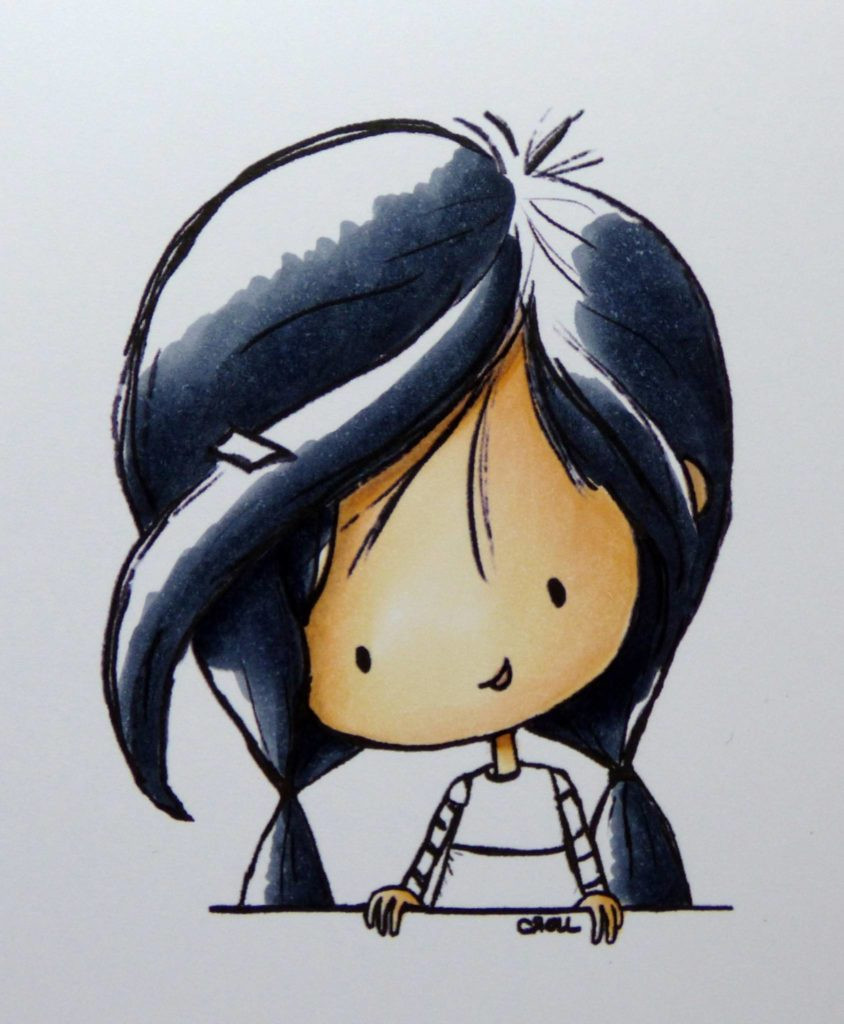
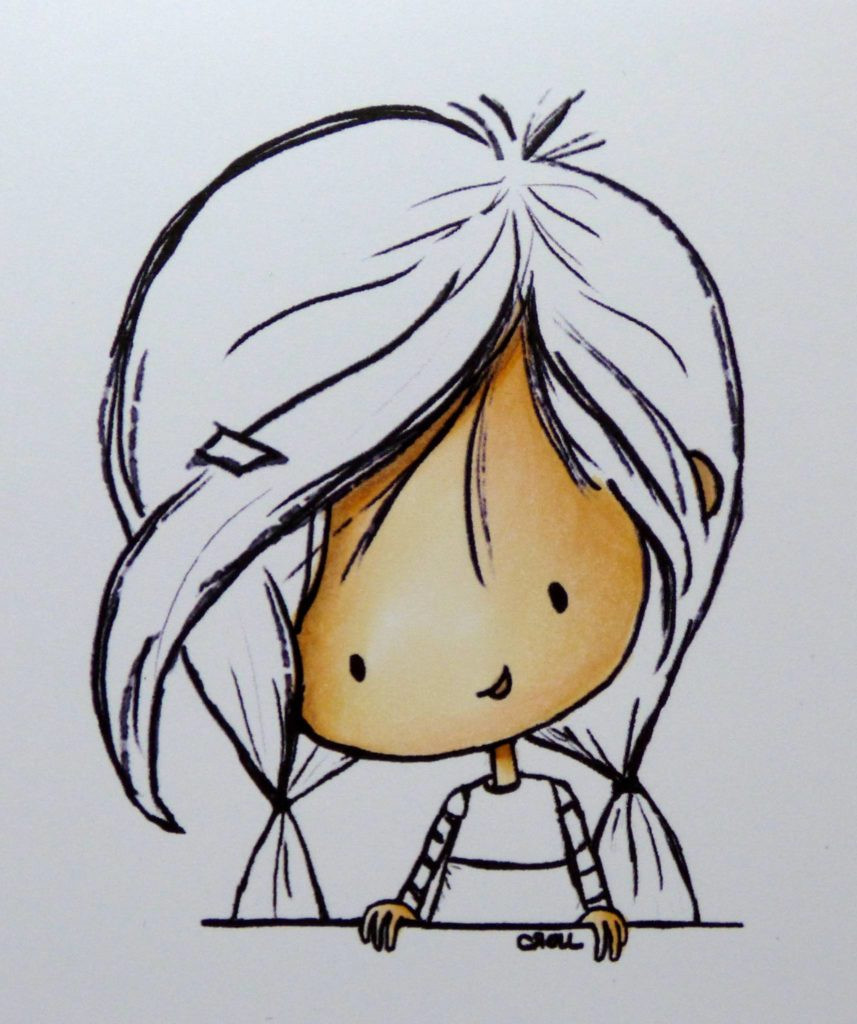
3 Colour the hair by laying down C7 to show the darkest areas. Pull C7 towards the lightest area of the hair using C5.

4 Fill the remaining white space using C3. Stay away from areas you have coloured using darker pens to avoid bleaching out. Use 100 to mark cast shadows under the fringe and chin.
5 Use BG23 to mark the darkest areas on the dress and sleeves. Extend towards the lighter area using BG11.
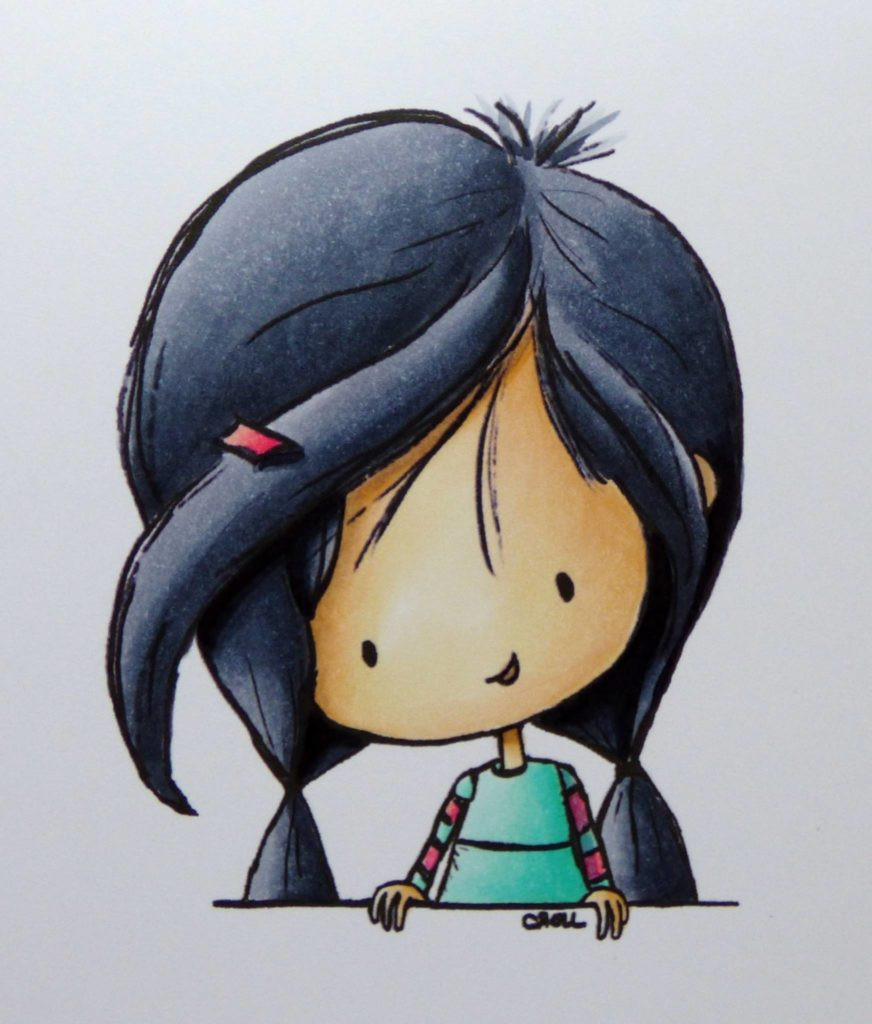
6 Close the white space using BG10 and use C5 to add a shadow to the left arm next to the dress. Add RV14 to mark the dark pink areas and pull towards the light using R43. Close the white space using R20.
Let us know how you get on with your alcohol marker pens, join our Facebook group for more tips and advice!
This content was written by Faye Wynn-Jones and originally featured in Papercraft Essentials Issue 149
Related Products
-


-


-


-

 Altenew Artist Alcohol Markers Set D Rock Garden | Set of 12Special Price £27.99 Regular Price £34.99 RRP £35.99 Save £8.00Out of stock
 -

-

 Phill Martin Sentimentally Yours Alcohol Marker Pen Set Colour Radiance 7Special Price £23.99 Regular Price £39.99Out of stock
 -


-

 Phill Martin Sentimentally Yours Alcohol Marker Pen Set Colour Radiance 4Special Price £23.99 Regular Price £39.99Out of stock
 -


-

 Phill Martin Sentimentally Yours Alcohol Marker Pen Set Colour Radiance 2Special Price £23.99 Regular Price £39.99Out of stock
 -


-

 Altenew Artist Alcohol Markers Set F Sunshine Valley Garden | Set of 12£34.99 RRP £35.99 Save £1.00
 -

 Altenew Artist Alcohol Markers Set G Water Garden | Set of 12Special Price £27.99 Regular Price £34.99 RRP £35.99 Save £8.00Out of stock
 -

-

-

 Altenew Artist Alcohol Markers Set E Tropical Garden | Set of 12Special Price £27.99 Regular Price £34.99 RRP £35.99 Save £8.00Out of stock


Recent Posts
-

-
 Categories: All
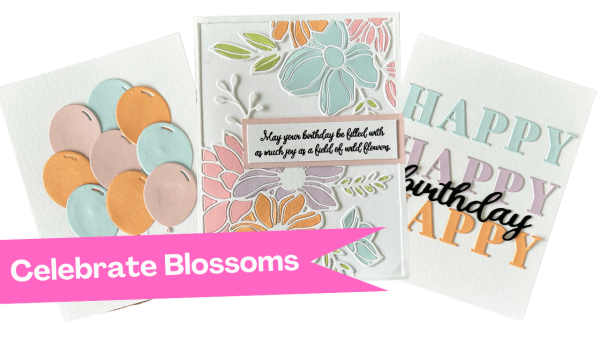
Creative Ways to Use Cover Plate Dies in Your Cardmaking Projects with New Celebrate Blossoms Release from Justine Hovey
New Celebrate Blossoms from It's Just Paper -
-
-
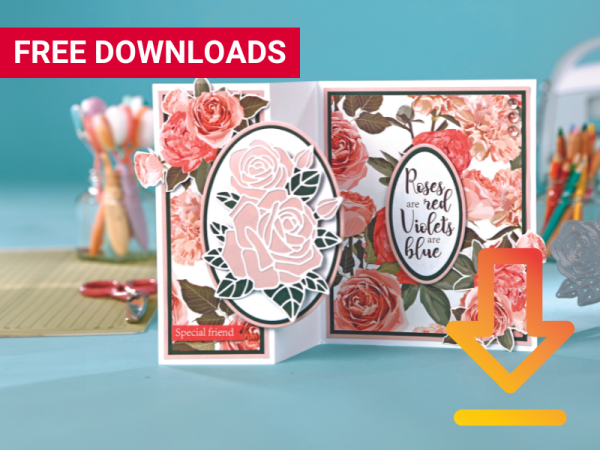 Categories: AllFree Download
Free Rose Design Digital Papers, Toppers and Sentiments!
Free Floral Digital Papers and Digital Stamps

