Cricut Project Idea: Bride Gift
Cricut Gift idea for a Bride

Are you looking for a unique and personalized gift for a bride-to-be? How about creating a custom makeup bag using a Cricut machine and heat transfer vinyl (HTV)? In this blog post, we'll guide you through the steps of creating a beautiful makeup bag for a bride. We're bringing you lots of Cricut Project ideas so be sure to look through our blog for lots of great ideas for gifts you can make with your Cricut machine
Materials Needed:
- Cricut machine
- Heat transfer vinyl (HTV) in gold and Gold Glitter
- Weeding tool
- Easy Press Mini
- Blank makeup bag
- Bride SVG from CraftStash
- Flowers SVG from Craft Stash
Step 1: Creating the Design
The first step is to create the design in the Cricut Design Space. Upload the SVG files to Cricut Design Space and adjust the size to fit your makeup bag.

Step 2: Cutting the HTV
Load the HTV onto the cutting mat and load it into the Cricut machine. Make sure the HTV is placed on the mat with the shiny side facing down. Follow the instructions on Design Space to cut the design. You will need to cut out the following pieces of HTV:
- The word "Bride" in gold glitter
- Flowers in Gold
Step 3: Weeding the HTV
After cutting the HTV, it's time to weed out the excess material using a weeding tool. Start by removing the large pieces of HTV, leaving only the designs on the backing sheet. Next, use the weeding tool to remove any small pieces or details in the design.
Step 4: Applying the HTV to the Makeup Bag
Preheat the make up bag for a few seconds with the Easy Press mini to remove any wrinkles or moisture. Once the bag is heated, position the HTV designs onto the bag, making sure they're centred and straight.

Step 5: Applying Heat and Pressure
Using an iron or heat press, apply heat and pressure to the designs. Follow the instructions for the HTV to determine the temperature and time needed for application. For the HTV we used, a temperature of around 160’C and a pressing time of around 30 seconds should work. Use a medium pressure to ensure the designs adhere properly.
Step 6: Removing the Backing Sheet
After applying heat and pressure, wait for the bag to cool completely. Then it's time to remove the backing sheets carefully. Start at one corner and slowly peel away the backing sheet at a 45-degree angle.

Step 7: Enjoy Your New Bride Makeup Bag!
And there you have it - a beautiful and personalized makeup bag. This would make a perfect gift for a bride-to-be, or even for bridesmaids or the mother of the bride. Happy crafting!
Related Products
-


-

 Cricut EasyPress Mini Raspberry Heat Transfer Machine UK Edition£52.99 RRP £57.99 Save £5.00Out of stock
 -


-

 Cricut Explore 3 Bundle | Digital Machine, Easypress Mini Heat Press, Cutting Mats, Tool Set, HTV£397.49 RRP £439.49 Save £42.00Out of stock


Recent Posts
-
 Categories: AllFree Download
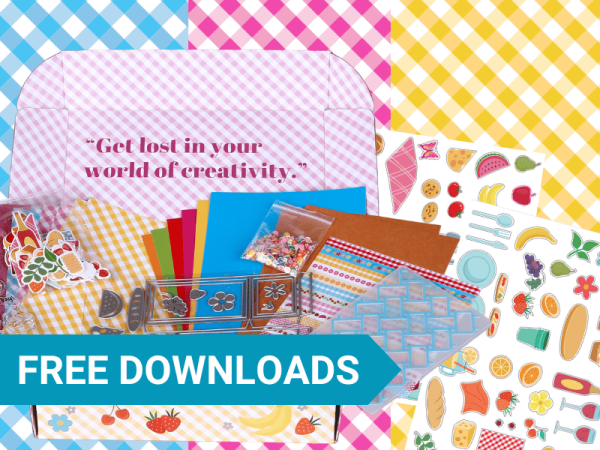
Made To Surprise Papercraft Society Free Downloads
Free Made To Surprise Papercraft Society Box Downloads! -

-
 Categories: All
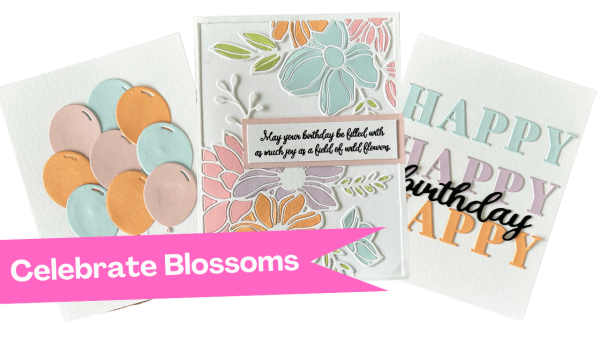
Creative Ways to Use Cover Plate Dies in Your Cardmaking Projects with New Celebrate Blossoms Release from Justine Hovey
New Celebrate Blossoms from It's Just Paper -

-