Cricut Project Ideas: DIY Care Bear Cup
Cricut Project Idea and Tutorial using official CraftStash licenced Care Bear SVG
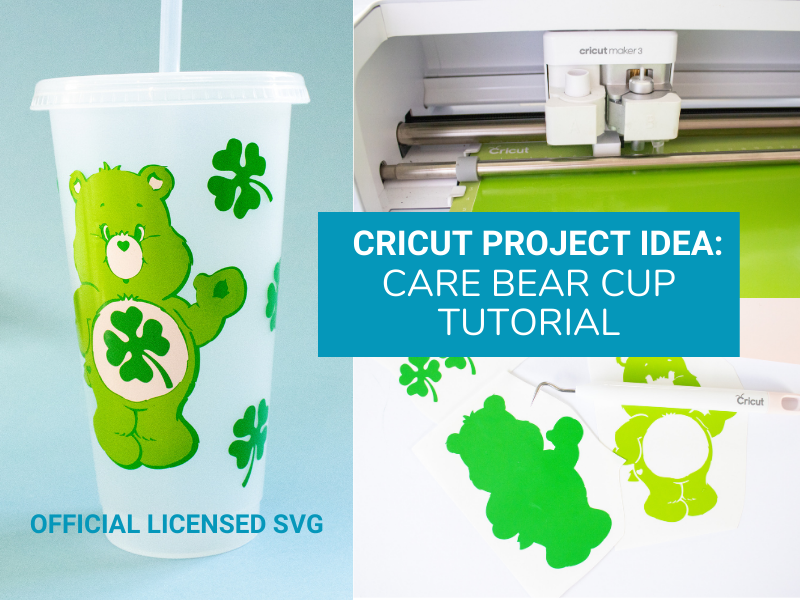
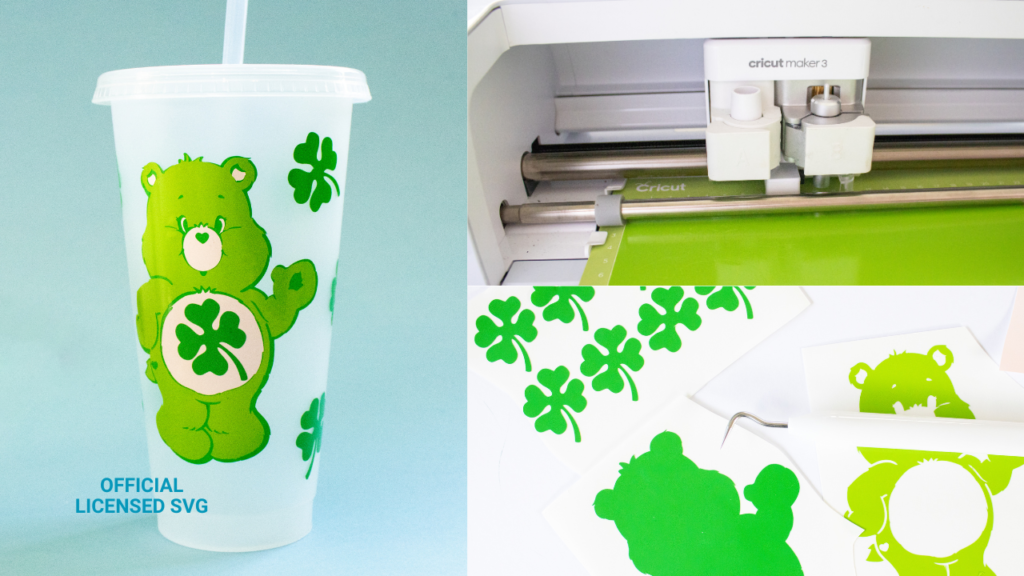
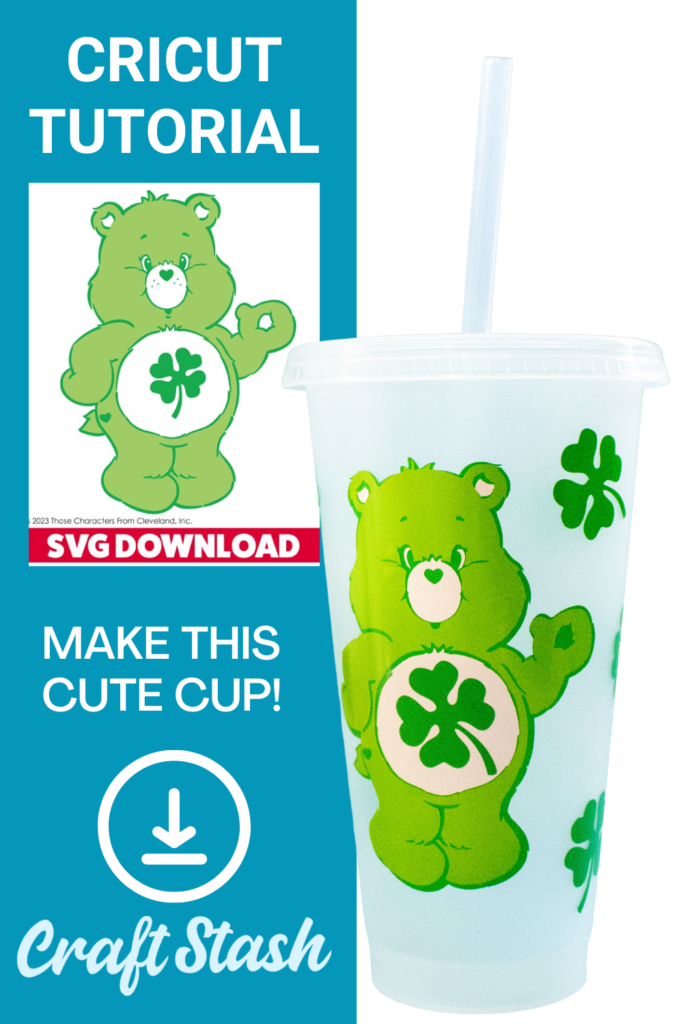
Care Bear Cup Cricut Project
Create a stunning cup with your Cricut machine to bring a sprinkle of luck to your day! In this blog post, we will walk you through the process of making a cup with a layered Care Bear design using a Cricut machine. Cricut Expert Emma Jewell has a fabulous step by step tutorial for creating this cute Good Luck Care Bear Cup which would make a great gift for a friend who's about to start something new!
You will need:
• Cricut machine
• Carebear SVG
• Craft Stash Vinyl in Light Green, Lime tree Green and white
• Standard Grip Transfer tape
• Weeding tool
• Scraper tool
• Scissors
• Blank cup

Step 1: Designing the Care Bear Design
The first step is to design the Cup in the Cricut Design Space. Upload the Carebear SVG to the Cricut Design Space and adjust the size to fit your cup. Then duplicate the Clover motif from the Carebears belly, add enough of these to cover the cup around the Carebear.

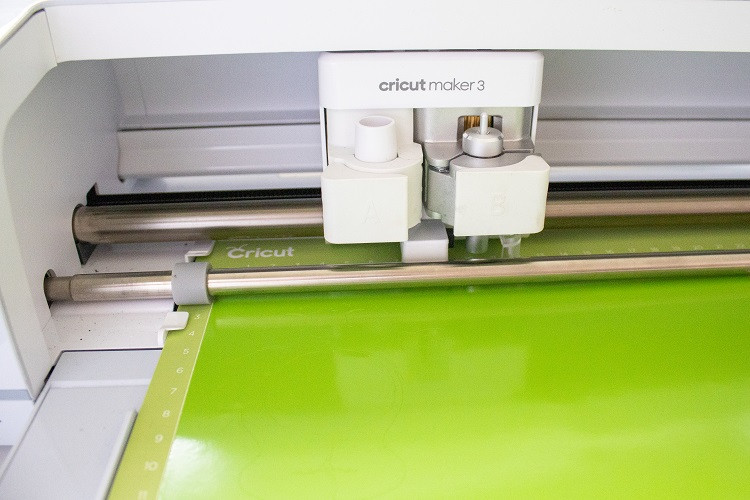
Step 2: Cutting the Vinyl
Once your design is ready, it's time to cut the vinyl. Load the vinyl onto the mat then into the Cricut machine. Follow the instructions on the machine to cut each layer of the design in the appropriate colour.
Step 3: Weeding the Vinyl
After cutting the vinyl, it's time to weed out the excess material using a weeding tool. Start by removing the large pieces of vinyl, leaving only the design on the backing sheet. Next, use the weeding tool to remove any small pieces or details in the design.

Step 4: Transferring the Vinyl
Once you have weeded the vinyl, it's time to transfer it to the transfer tape. Cut a piece of transfer tape slightly larger than the design and lay it over the vinyl design. Use a scraper tool to press the transfer tape onto the vinyl, making sure it adheres properly. Transfer all layers of the Carebear onto the transfer tape, starting with the white layer as the top, first layer.

Step 5: Applying the Vinyl to the Cup
Before applying the vinyl to the cup, make sure the cup is clean and dry. Once the cup is ready, carefully place the transfer tape with the vinyl design onto the cup. Use a scraper tool to smooth out any air bubbles and make sure the vinyl adheres to the cup properly.

Step 7: Removing the Transfer Tape
Once the vinyl has been applied, it's time to remove the transfer tape carefully. Start at one corner and slowly peel away the transfer tape at a 45-degree angle. If the vinyl starts to lift with the transfer tape, use a scraper tool to press it back onto the cup. Once the Carebear design is applied, finish the mug by adding the clover motifs around the cup.
And there you have it - a beautiful cup with a layered Care Bear design using a Cricut machine. Happy crafting!
Emma is using a CraftStash Officially Licensed Care Bear SVG - Beware of unlicensed SVG's!
Why use officially licensed SVG's?
1.100% official image - unofficial may have defects or inaccuracies in the image as they are scanned, traced etc
2. The SVG cuts or prints perfectly every time (no fuzzy edges)
3. No copyright infringement so you can use it (for personal use) safe in the knowledge you aren't breaking any laws
4. Peace of mind, 100% trust the image is as it should be, don't take the chance and be disappointed with a rip-off image
Related Products
-


-

 Cricut Maker Ultimate Smart Cutting Machine Rose with EU Adaptor£240.99 RRP £379.99 Save £139.00Out of stock
 -


-


Recent Posts
-
 Categories: AllFree Download
Made To Surprise Papercraft Society Free Downloads
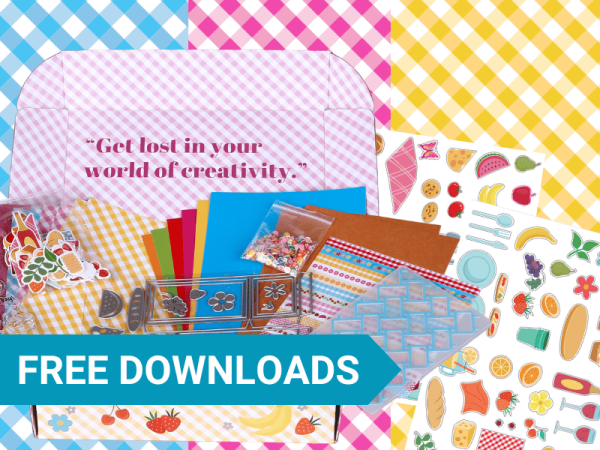
Free Made To Surprise Papercraft Society Box Downloads! -

-
 Categories: All
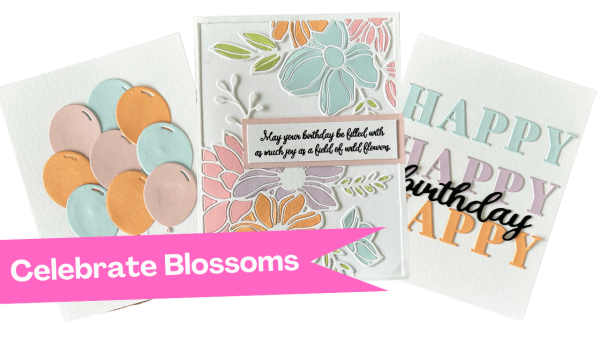
Creative Ways to Use Cover Plate Dies in Your Cardmaking Projects with New Celebrate Blossoms Release from Justine Hovey
New Celebrate Blossoms from It's Just Paper -
-