DIY Barbie Box Tutorial - Fun Gift Box Idea
Create your own Barbie Box as a cute gift box idea
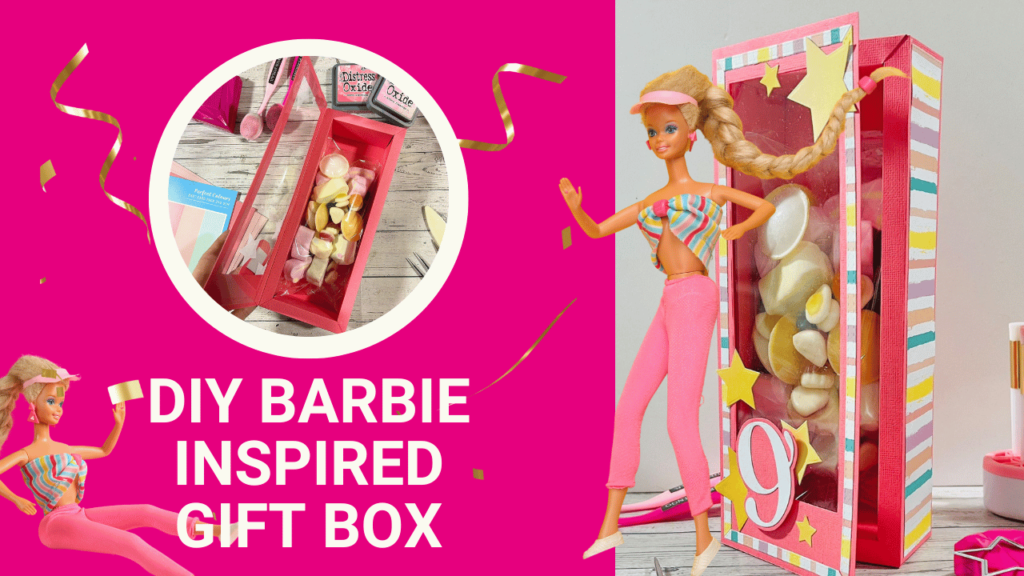
Hello everyone! Here is a fun DIY project inspired by the new Barbie film. With Barbie-themed parties and celebrations everywhere at the moment, Lou thought it would be great to create a Barbie-inspired gift box using some supplies from Craft Stash.
CraftStash Shopping List
You can use items from your stash, but here are the products Lou is using in her fab Barbie Box video tutorial
Simply Made Crafts Die & Clear Stamp Set A Special Day Numbers & Invitation Sentiments | Set of 25
Simply Made Crafts Large Shadow Frame Album Box Die Set
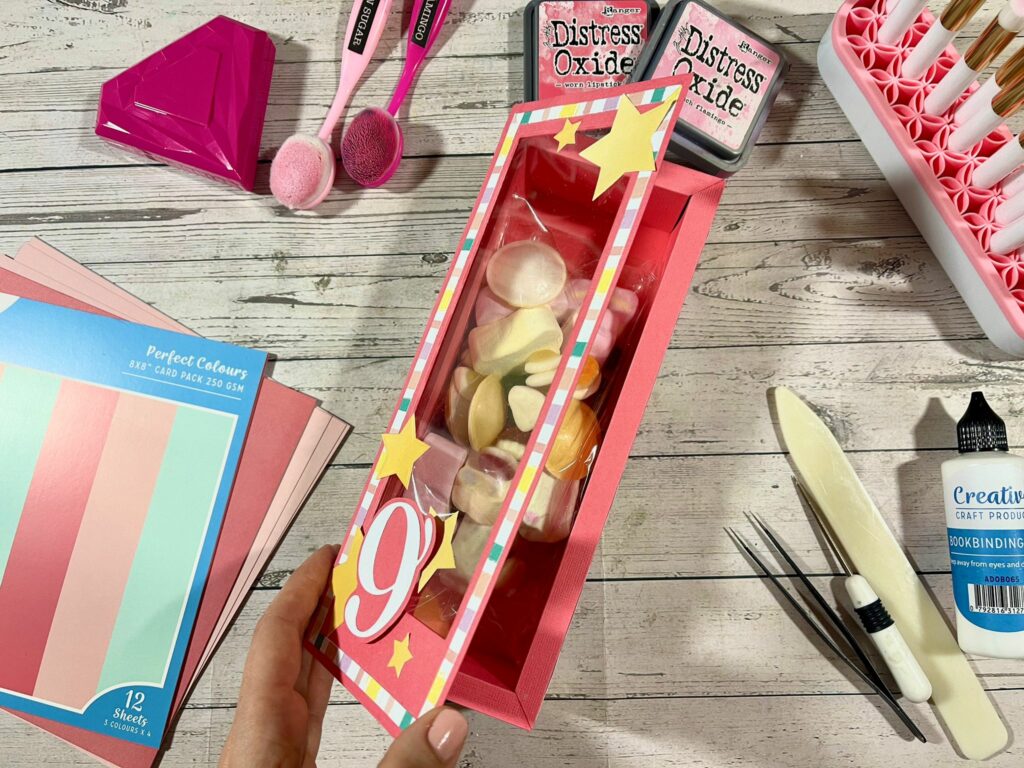
Patterned Papers from the Simply Made Crafts Moving Pages Paper Pack
Perfect Colours Glitz & Glam Card Pack
Creative Craft Products Nesting Dies
Acetate to cover the reverse of the door
Sweets to fill the box
Hook and Loop Fasteners or a Magnet for a reusable closure
Step-by-step Guide to Creating a Barbie Box Inspired Gift Box
Barbie Doll Gift Box Idea - Great Alternative to Kids Party Bags
Instructions:
1. Prepare Your Materials:
Start by gathering all your materials. You'll be using the Simply Made Crafts Special Day stamp and die set to create numbers for the recipient or birthday. Alternatively, you could use alphabet dies to create a name on the front.
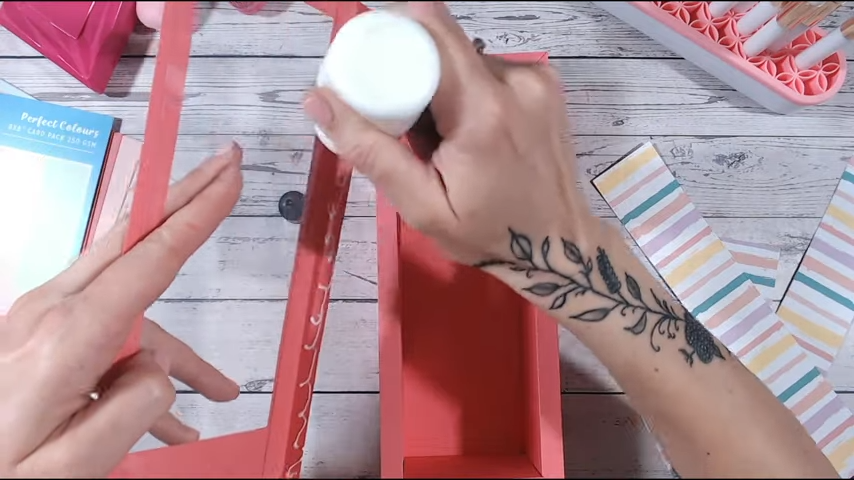
2. Create the Main Barbie Box:
Use the Simply Made Crafts Large Shadow Frame Album Box die set to create the main box. This die set allows you to create the box in any size you want.
3. Decorate the Box:
Utilize patterned papers from the Simply Made Crafts Moving Pages paper pack to decorate the box. The pack includes a variety of lovely pastel and bright colors, perfect for a summery Barbie-themed box.
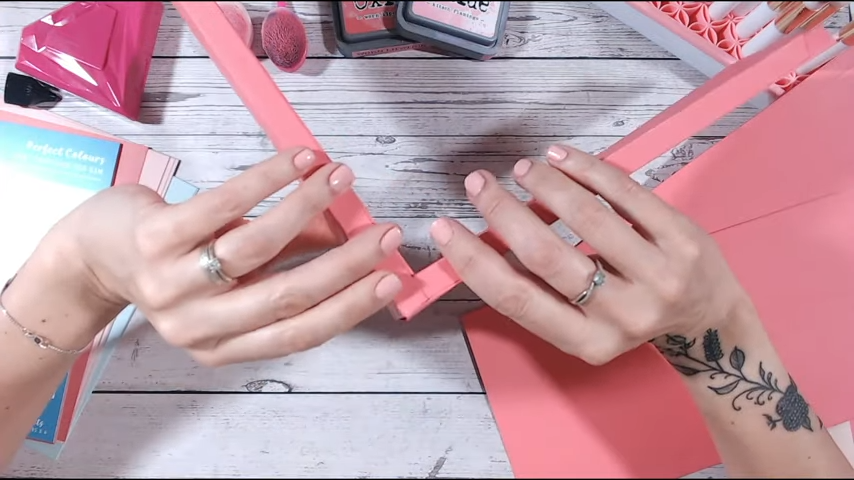
4. Plan Your Box:
Before gluing anything, do a 'dry run' to check the size of the box. Adjust as necessary if you'd like to trim a little bit off the straight ends of the long pieces.
5. Add the Aperture and Door:
Use a Creative Craft products nesting die from the Slimline range to cut an aperture into the front door of the box. Attach a hinge for the door and ensure that not too much, if any, of the hinge will be seen between the edge of the card and the aperture.
6. Decorate the Door:
Add decorative strips cut from patterned paper, ensuring these are visible through the aperture. Next, add acetate over the reverse of the door. Glue the hinge either completely over and glued to the top or open it slightly and glue it to the edge of the box.
7. Final Touches:
Use some strips that come with the die set to cover the outside of the box. Also consider adding a number using a number die to correspond with the age of the person whose party it is or who you're gifting it to.
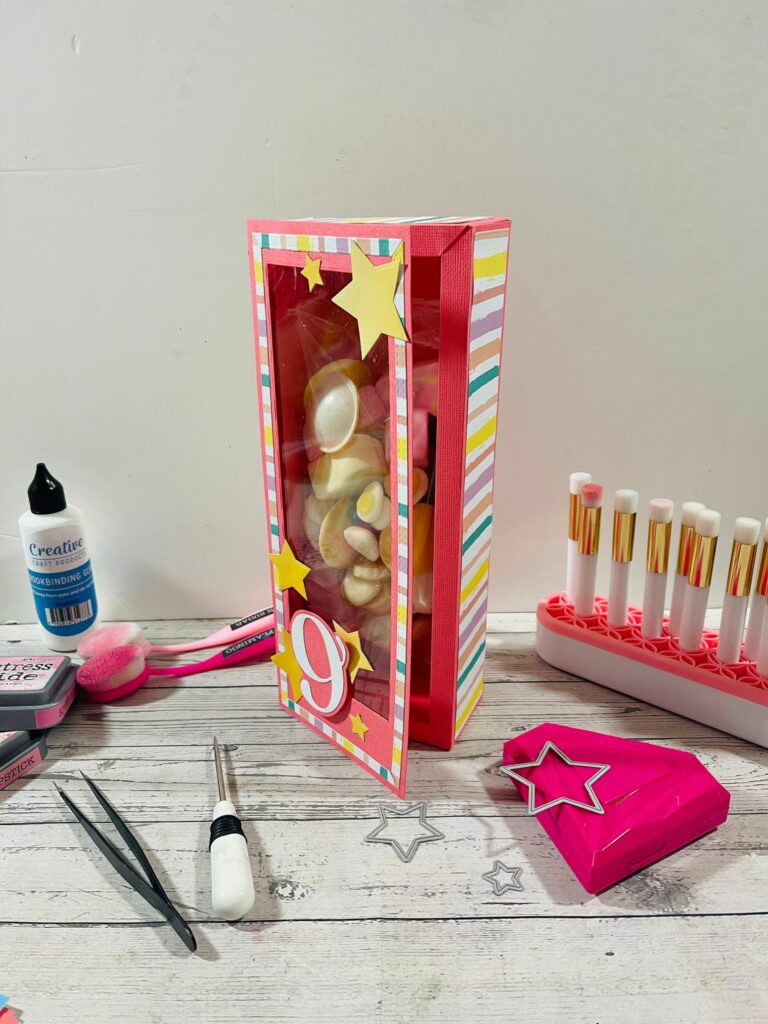
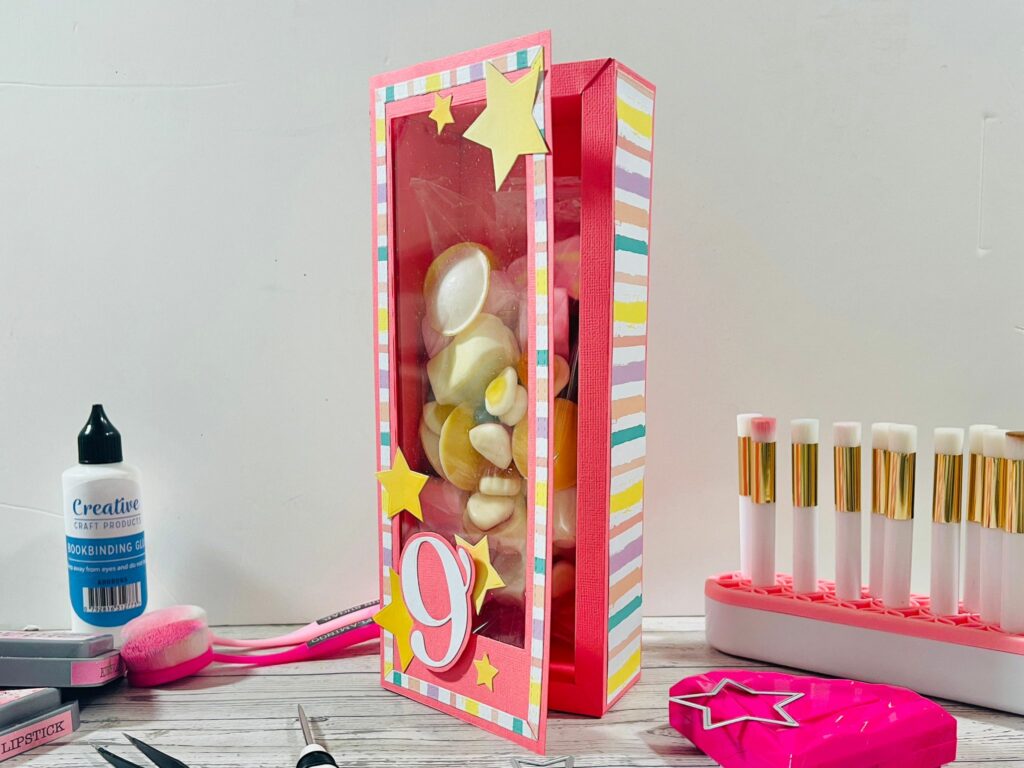
8. Fill the Box:
Fill the box with sweets or other small gifts. This demonstrates the practical use of the box as well as its decorative aspects.
9. Close the Box:
There are a few options for closing the gift box. Consider using hook and loop fasteners or a magnet for a reusable closure. Alternatively, double-sided tape could be used if you want the recipient to permanently open it.
10. Personalize the Box:
For a playful touch, consider placing a photo of someone inside the box, as though they are modelling it. This adds a personalized touch to the gift box and can make it even more special for the recipient.
And voila! You now have a beautiful Barbie-inspired gift box, perfect for birthdays or other special occasions. Enjoy the process and happy crafting!
You can get all your essential Craft Products at CraftStash and if you sign up to our VIP Members Club you can save 10% on every order, get mega deals, priority shipping and double points!
Recent Posts
-
 Categories: AllFree Download
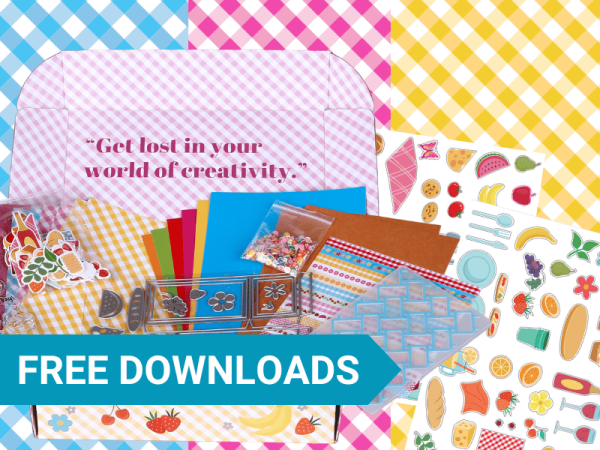
Made To Surprise Papercraft Society Free Downloads
Free Made To Surprise Papercraft Society Box Downloads! -

-
 Categories: All
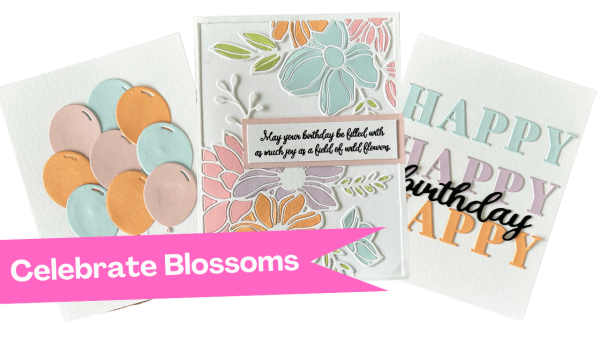
Creative Ways to Use Cover Plate Dies in Your Cardmaking Projects with New Celebrate Blossoms Release from Justine Hovey
New Celebrate Blossoms from It's Just Paper -
-