
Expert Hacks for Lining Up Stamps and Dies
If you're an avid crafter, you've likely encountered the challenge of lining up stamps and dies perfectly. Fret not! In this tutorial, we've compiled 5 expert techniques from your favourite crafters to make this process a breeze.

If you're an avid crafter, you've likely encountered the challenge of lining up stamps and dies perfectly. Fret not! In this tutorial, we've compiled 5 expert techniques from your favourite crafters to make this process a breeze. Let's dive into each method and discover which one suits your crafting style best.
We've linked all the videos at the end of the post.
Technique 1: Creating a Template
Start by making a template for solid dies, inspired by Heartfelt Creations. Use low Tac tape to secure the die onto coloured cardstock. Run it through your die-cutting machine, then stamp the image using a stamping platform. The template helps in precise alignment during future projects.

Technique 2: Die Cutting First
Learn from Catherine Pooler's tip of die-cutting first and then stamping. Tape the die onto cardstock, die-cut, and later secure it in the stamping platform. This technique is excellent for solid dies, ensuring a crisp and accurate stamped image.

Technique 3: Marking Dies for Easy Coordination
Anna Helman's genius trick involves marking dies and stamps with lines for quick reference. Use a solvent-based or alcohol pen to draw lines on the back of the die and stamp. Number or letter them for easy coordination. This method is particularly handy for complex designs like flowers.

Technique 4: Eyeballing for Quick Results
If you're short on time, follow Simon Hurley's advice. Eyeball the placement of your die over the stamped image, ensuring an even border. Use low Tac tape to secure, and you'll get fantastic results, especially with open dies.

Technique 5: Dual-Layer Stamping and Die Cutting
Ellen Hutson's technique involves stamping and die-cutting on two different layers. This is a game-changer if you struggle with alignment. Stamp on one layer, die-cut on another coloured layer, and glue them together for a flawless finish.

Bonus Tip: Using Excess Die Cut for Stability
Enhance Catherine Pooler's die-cut-first technique by using the excess die-cut to stabilise your piece. Place the excess in the template, secure the cardstock and stamp. This ensures the die-cut piece stays in place without the need for glue.

Crafting is an art, and with these expert tips on lining up stamps and dies, you'll be mastering the skill of aligning stamps and dies in no time. Remember to check out the detailed tutorials from the expert crafters mentioned for additional insights. Happy crafting, and may your projects be perfectly aligned!
Watch the full video tutorial here!
1. Heartfelt Creations' - Template Technique
2. Catherine Pooler's Die-Cut First Technique - Die Cutting First
3. Anna Helman's Marking Trick - Marking Dies for Easy Coordination
4. Simon Hurley's Eyeballing Technique - Eyeballing for Quick Results
5. Ellen Hutson's Layered Technique - Dual-Layer Stamping and Die Cutting (Timestamp: 12:34)
Related Products


Recent Posts
-

-
 Categories: All
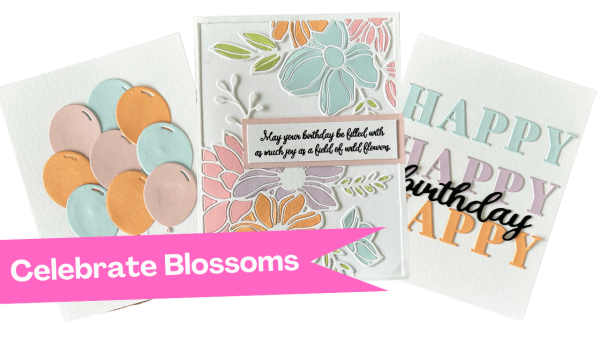
Creative Ways to Use Cover Plate Dies in Your Cardmaking Projects with New Celebrate Blossoms Release from Justine Hovey
New Celebrate Blossoms from It's Just Paper -
-
-
 Categories: AllFree Download
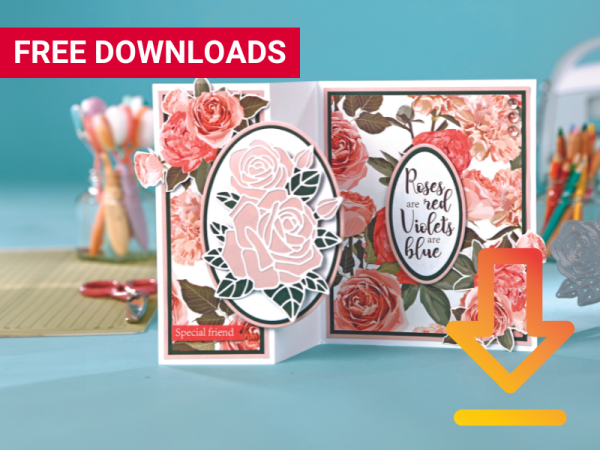
Free Rose Design Digital Papers, Toppers and Sentiments!
Free Floral Digital Papers and Digital Stamps

