Stamping Technique: First and Second Impression Stamping
Stamping Technique: First and second-impression stamping will add depth and interest to your designs by providing a layered or dimensional look.
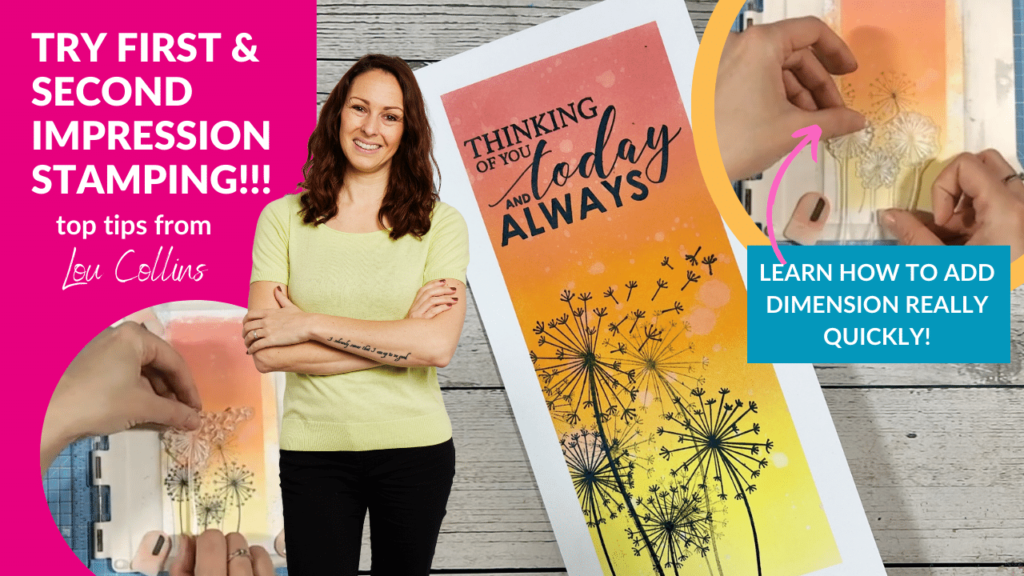
Whether you're a seasoned crafter or a beginner, this tutorial will guide you through creating a beautiful ink-blended background card with silhouette stamping. We'll be using the exclusive Apple Blossom Dandelion Days collection from Craft Stash, and we'll explore techniques like first and second-impression stamping and masking off a frame.
Supplies You Will Need:
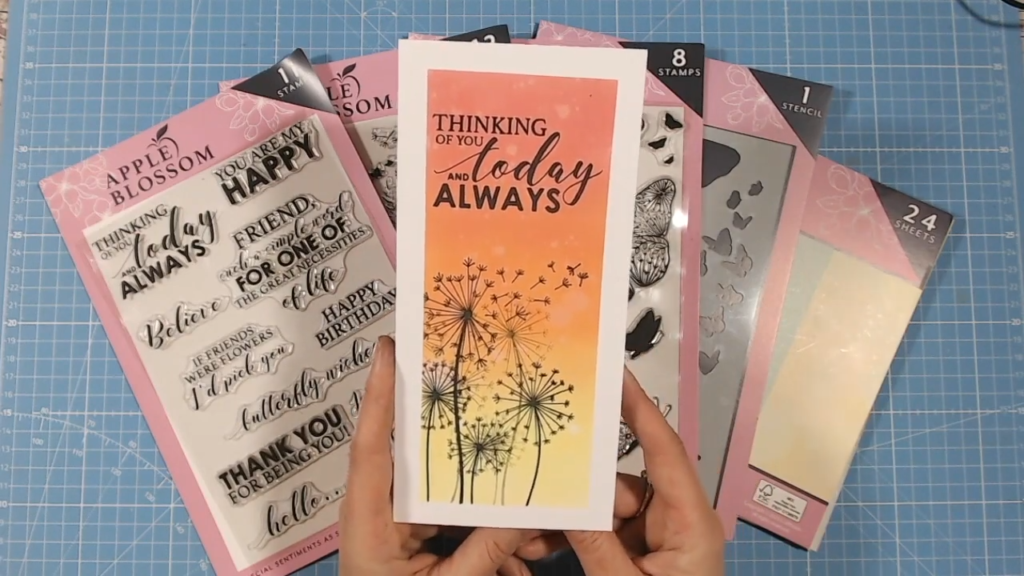
- Apple Blossom Dandelion Days collection for dandelion stamp and sentiment stamp
- DL card blank
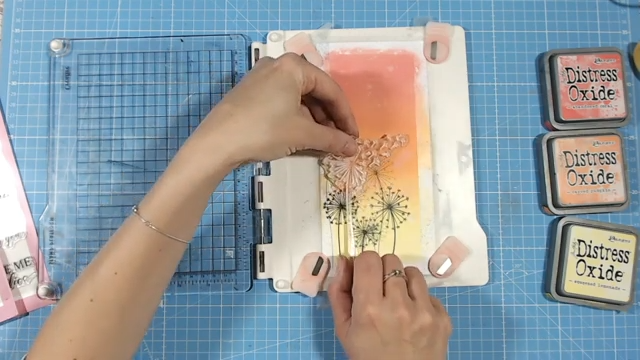
- Distress Oxide Inks in Squeezed Lemonade, Carved Pumpkin, and Abandoned Coral
- Water for splatting
- Kitchen towel
- Creative Craft Products Blending Brushes
- Creative Craft Products Stamping Platform
- Black ink - Lou uses Momento Ink in Tuxedo Black
- Eraser
- Low Tack Tape
What is First and Second Impression Stamping?
First and second-impression stamping will add depth and interest to your designs by providing a layered or dimensional look.
First Impression Stamping:
This is the initial stamping you do on your project. It typically involves fully inking your stamp and pressing it onto your medium (paper, fabric, etc.) to create a solid, clear image. This first impression is usually the most pronounced and detailed, serving as the focal point of your design.
Second Impression Stamping:
After the first impression is made, the second impression stamping involves re-stamping the image without re-inking the stamp. The result is a lighter, softer image that can provide a shadow-like effect or a sense of depth and perspective. This technique is also known as 'stamping off' or 'ghost stamping'.
In the context of Luke's tutorial, he uses black ink for the first impression to stamp solid dandelion images. He then uses light grey ink for the second impression to create subtler, background images, giving the card a dimensional look.
Create a Stunning Ink Blended Background Card: A Step-by-Step Tutorial
Steps to Create Your Card:
Start with your DL card base: This will be the canvas for your ink-blended background.
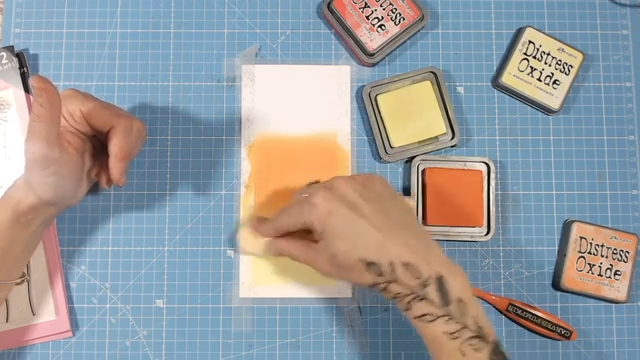
Blend your background: Use the Distress Oxide Inks in Squeezed Lemonade, Carved Pumpkin, and Abandoned Coral. Blend these colors together to create a beautiful, vibrant backdrop.
Add water splats for texture: Once your background is blended, add some water splats. This will cause the oxide inks to react and create lighter, oxidized spots, giving your card a unique texture.
Lift up excess ink: Use a kitchen towel to lift up excess ink. This will further enhance the oxidized effect and provide more texture to your background.
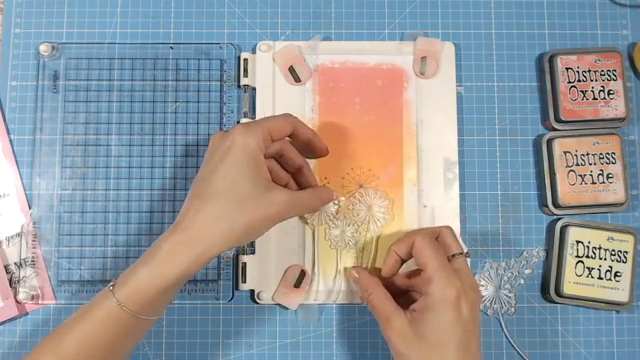
Stamp your images: Using the stamping platform and the Apple Blossom Dandelion Days collection, stamp dandelion images onto your card. Use black ink for solid images, and light grey for subtler, background images, this can be achieved by stamping onto some scrap paper first using the first and second impression technique.
Add sentiments: Choose a bold sentiment stamp from the collection. Before stamping, prep the stamp with an eraser to ensure a clean, crisp image.
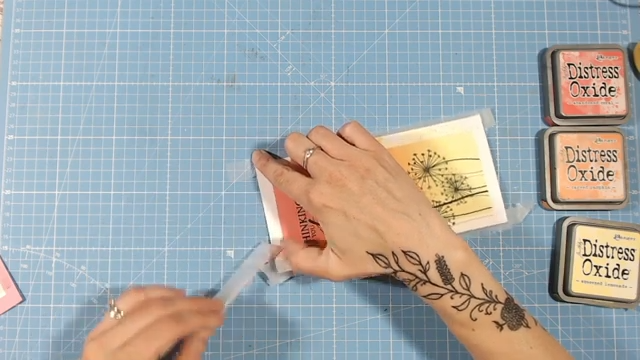
Reveal your design: Carefully remove the masking tape from your card, pulling it at a 45-degree angle away from your card. This will reveal a clean edge and the final design of your card.
And there you have it! A gorgeous, ink-blended background card with silhouette stamping using the first and second impression stamping technique. Remember, the Apple Blossom Dandelion Days collection is exclusive to Craft Stash, so grab yours today!
If you enjoyed this tutorial, please like, subscribe, and share with your crafty friends. And don't forget, if you're a Craft VIP member, you'll save 10% off your order, earn double points, and receive priority dispatch from the warehouse. Happy crafting!
You can find more from Lou Collins over on her YouTube Channel - Papercrafting with Lou Collins
Related Products


Recent Posts
-
 Categories: AllFree Download
Made To Surprise Papercraft Society Free Downloads
Free Made To Surprise Papercraft Society Box Downloads! -

-
 Categories: All
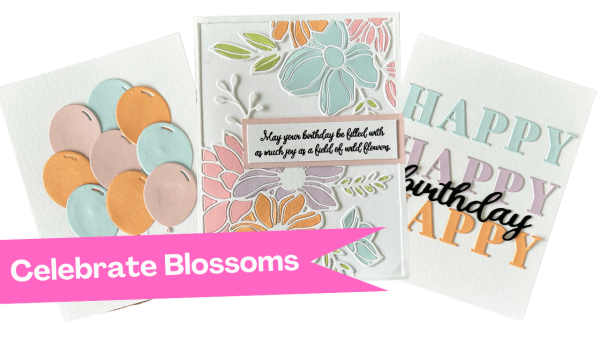
Creative Ways to Use Cover Plate Dies in Your Cardmaking Projects with New Celebrate Blossoms Release from Justine Hovey
New Celebrate Blossoms from It's Just Paper -
-