How to crop in Cricut Design Space
How to Crop Images in Cricut Design Space
Are you starting your Cricut journey and wondering how to crop images in Cricut Design Space? You're in the right place! Cropping images is a fundamental skill that can help you create personalised designs and projects with ease. In this step-by-step guide, we'll walk you through the process of cropping images in Cricut Design Space, making it simple even for those just starting out!
Step 1: Import Your Image
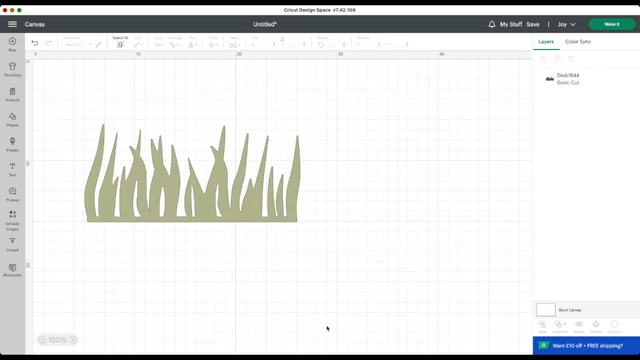
Begin by launching Cricut Design Space and pulling your desired image into the workspace. For this tutorial, we'll be using a basic image of blades of grass, which you can find in downloadable SVG packages or create yourself.
Step 2: Add a Shape
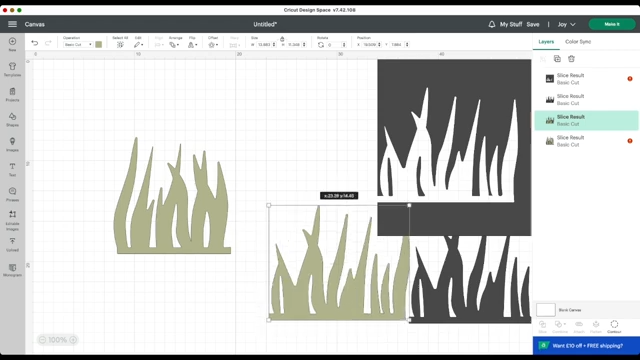
Next, you'll want to add a shape to determine where your image will be cropped. The shape you choose will serve as a guide for the cropping process. While a square works well for most cases, you can also use shapes like triangles or circles for different effects. Enlarge the shape and position it over the area you want to hide or crop in your image.

Step 3: Select Both Images
Click and drag to select both your SVG image and the shape you've added. If you're new to Cricut Design Space, make sure to check out our beginner's tutorial over on YouTube, which covers essential functions like selecting items and grouping.
Step 4: Slice
In the bottom right-hand corner of the screen, you'll find the "Slice" button. Click on it, and Cricut Design Space will automatically remove the portion of the image that was concealed by the shape. You'll now have two separate parts: the gray outline (the cropped portion) and the green Blades of grass (the part you want to keep).

Step 5: Delete Unwanted Elements
With both parts selected, hit the "Delete" key on your computer keyboard. This will remove the unwanted portion of the image, leaving you with the cropped version. You can resize this cropped image as needed, making it perfect for projects like diorama cards or intricate designs.
Advanced Cropping Technique: Using Contour
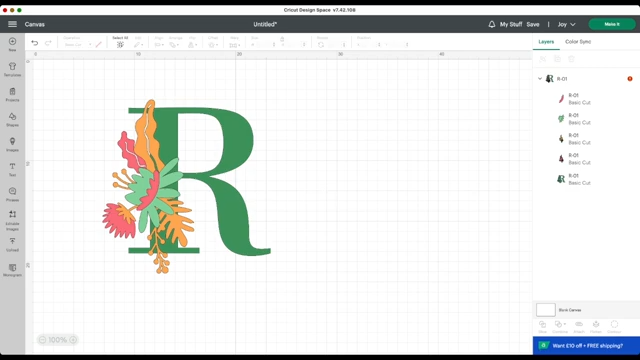
For more complex images that require specific elements to be removed, you can ungroup your image and use the "Contour" feature. This technique is especially useful when you want to extract a particular shape from a complex design.
Highlight and ungroup all elements in your image.
Select the image and click "Contour" in the bottom right-hand corner.

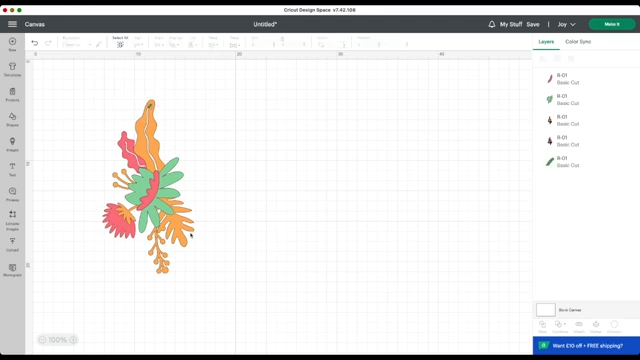
Click on the elements you want to hide or remove from the image. They will disappear as you click on them.
Once you've hidden the unwanted elements, your image will be left with the desired parts only.
Now you can resize, move, and use these elements in your projects.
Explore More Techniques
Cricut Design Space offers a wide range of tools and features for crafting and designing. If you're interested in learning how to slice shapes out of other shapes, check out our video tutorial on slicing and welding in Cricut Design Space.
Don't forget to explore Craft Stash's own brand range of electronic cutting machine tools, including grip mats, vinyl scrap collection tools, and a toolkit with essential accessories for your Cricut projects.
For additional tutorials and inspiration, visit our YouTube channel and explore our playlist dedicated to Cricut design and crafting.


