Partial Die-cutting Tutorial with Animal Antics from My Creative Life
Learn partial Die-cutting with Katie Skilton

In a video tutorial, Katie demonstrates how to do partial die cutting using a rabbit die from her new collection, although you'll be able to apply the principal of partial die-cutting with any of your dies. By strategically placing the die on a panel of cardstock, she creates a snowy scene for the rabbit to sit on. She also shows how to add details to the rabbit using gel pens and a black ink pad for the nose. With these techniques, the rabbit truly comes to life on the card. Watch the video tutorial for full instructions.
In this partial die-cutting technique tutorial Katie is using her latest collection "Animal Antics". The focus of this collection is on adorable animal dies, including a bear, deer, rabbit, and fox. These animals come with jumpers, hats, and scarves that can be used to decorate them or be used separately as standalone animals.
Sure Here's a friendlier version of the instructions for creating a partial die-cut card using the partial die-cutting technique:
Here are the written instructions to create this cute partial die-cut card
Here's what you'll need:
? Die-cutting machine (like a Big Shot)
? An adorable animal-shaped die - Katie uses a rabbit from her Animal Antics Collection
? Foam pads, scissors, gel pen, ink pad (pink), and a stencil (optional) - shop all our cardmaking essentials - we offer the best value for money, especially when you sign up to our VIP membership (see details at the end of this post)
Partial Die-cutting Step-by-Step

Place the white cardstock (measuring 5x5 inches) on your work surface. Position the animal die on the cardstock, making sure that any overhanging parts (such as ears) are aligned with the edge.
Layer a second plate on top of the die, ensuring that it slightly overlaps the bottom of the die. This will prevent the base of the die from cutting through the cardstock.

Run the stacked plates through the die-cutting machine to create the partial die-cut. Remove the cardstock from the machine. You have now mastered the Partial die-cutting technique! It's so simple.
Die-cut the nose and belly of the animal separately using a different colored cardstock. Place the die over the desired sections and run it through the machine.

Trim the excess cardstock around the base of the animal using a paper trimmer. Leave a small gap between the rabbit and the trimmed edge.
Use scissors to carefully snip away any remaining excess cardstock, ensuring not to cut into the animal shape.
Use a gel pen to add detail to the animal's eyes, following the score lines. Add a small black nose using an inked dauber.
Attach the foam pads to the back of the animal, making sure to cover all sections. This will provide dimension when adhering it to the card.
Take the turquoise panel (also measuring 5x5 inches) and position the animal on top, arranging it to appear as if it is popping up from a snowy scene.
Adhere the animal to the panel, pressing it down firmly to ensure it sticks securely.
Your partial die-cut card is now complete!

Will you be trying partial die-cutting?
This technique allows you to create unique and dimensional designs that are sure to impress. Have a blast experimenting with different animals and designs using the partial die-cutting technique! Let your creativity soar! ?✨
More about Katie's new Collection - Animal Antics

I hope you enjoyed the tutorial and you're inspired to take a closer look at more of the products from this cute new collection.
To complement the animal dies, there are also frames and sentiments available. The frames are designed to fit the animals perfectly, creating a cohesive look. You can also use these frames to showcase sentiments from the stamp set.
To add even more versatility to your projects, there are two stencil sets available in this collection. The A6 stencils include Chevron and star patterns, as well as Christmas elements and snowflakes. These stencils have been specifically designed to work with the animal dies, making it easy to create beautifully coordinated projects.
You can find this exclusive collection at Craft Stash, where VIP members can enjoy a 10% discount. If you're not a VIP member yet, now is the perfect time to join and take advantage of the savings.
This collection offers endless inspiration and creative possibilities. Whether you're creating Christmas cards or whimsical projects throughout the year, the Animal Antics collection is sure to bring joy and cuteness to your crafting. So head over to Craft Stash and explore this delightful collection from Katie Skilton's Creative Life.
Recent Posts
-
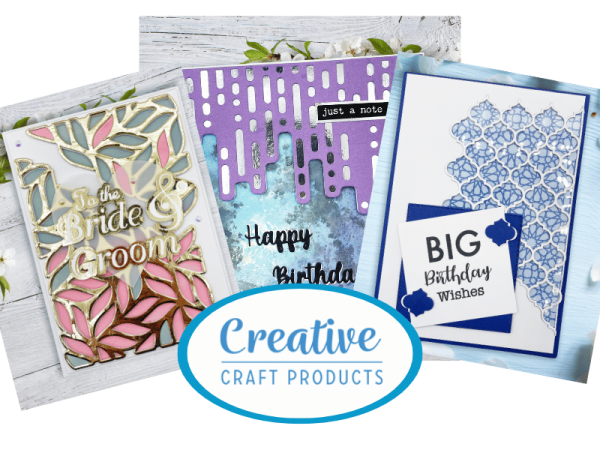
 Categories: AllFree Download
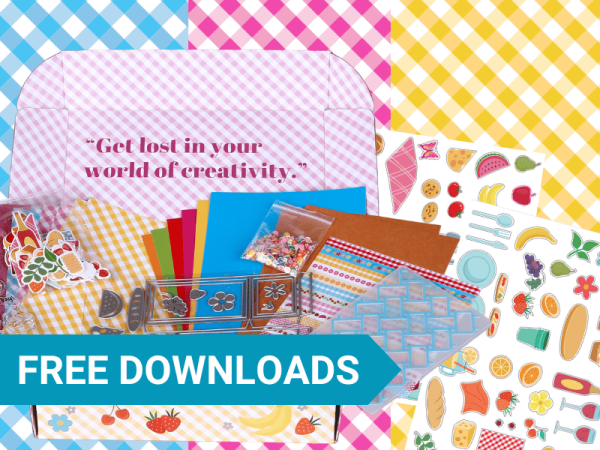
Made To Surprise Papercraft Society Free Downloads
Free Made To Surprise Papercraft Society Box Downloads! -

-
 Categories: All
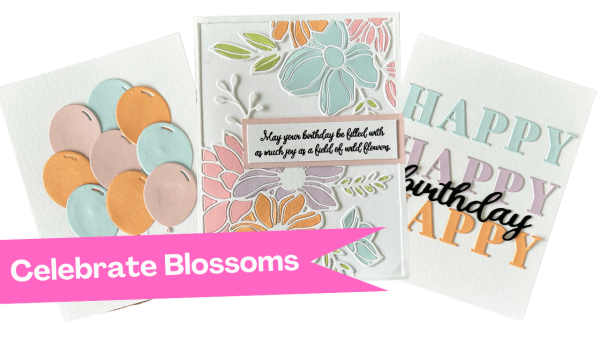
Creative Ways to Use Cover Plate Dies in Your Cardmaking Projects with New Celebrate Blossoms Release from Justine Hovey
New Celebrate Blossoms from It's Just Paper -
-