
Top Tips for Making Handmade Gift Boxes That Look Professional
Top Tips for Creating Handmade Gift Boxes That Look Professional
Top Tips for Making a Handmade Gift Box That Looks Professional
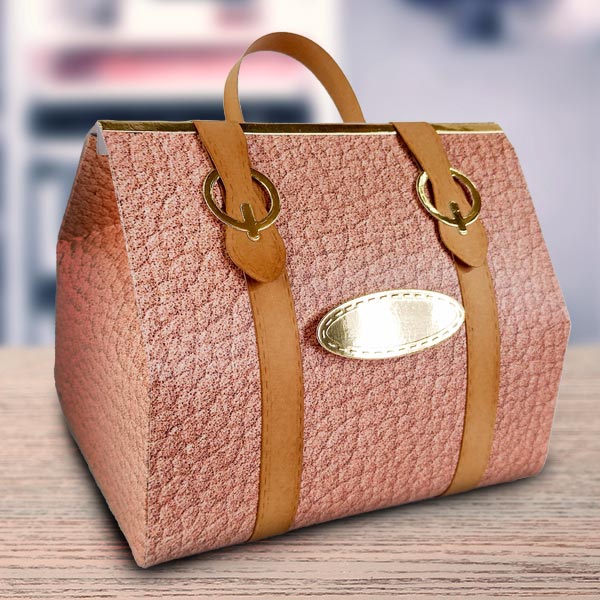
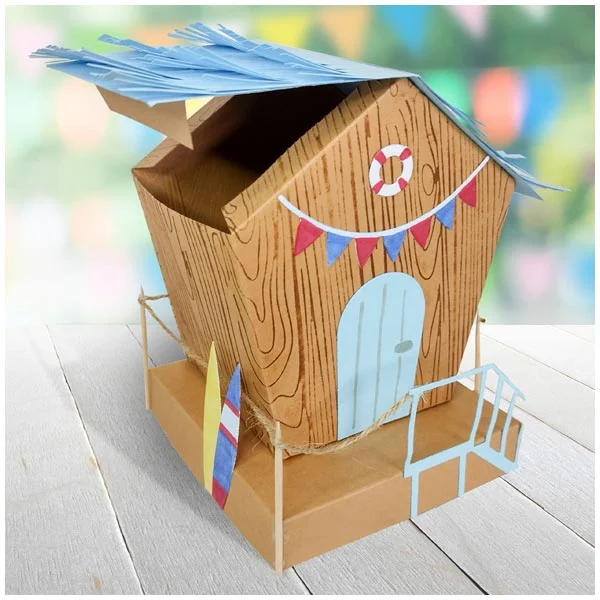
If you really want to go the extra mile and make your gift extra special, why not create a handmade gift box? You can learn how to make a gift box out of card but it's the finishing touches and attention to detail during the construction that will make the difference. You can even start trying some more adveturous gift boxes like this handmade handbag style gift bag.
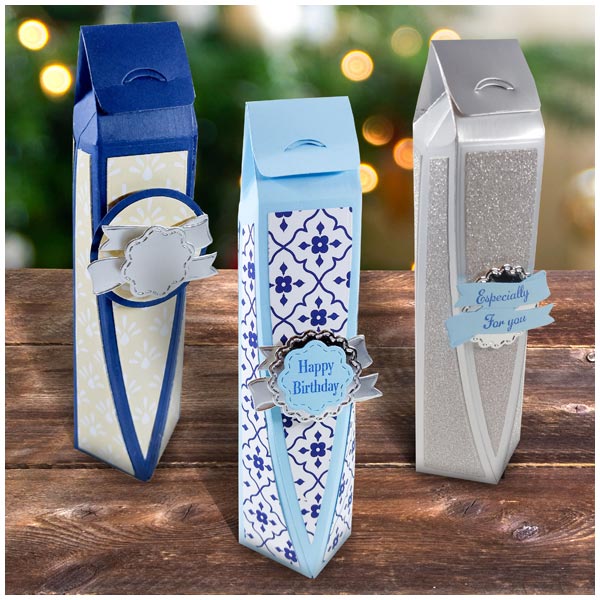
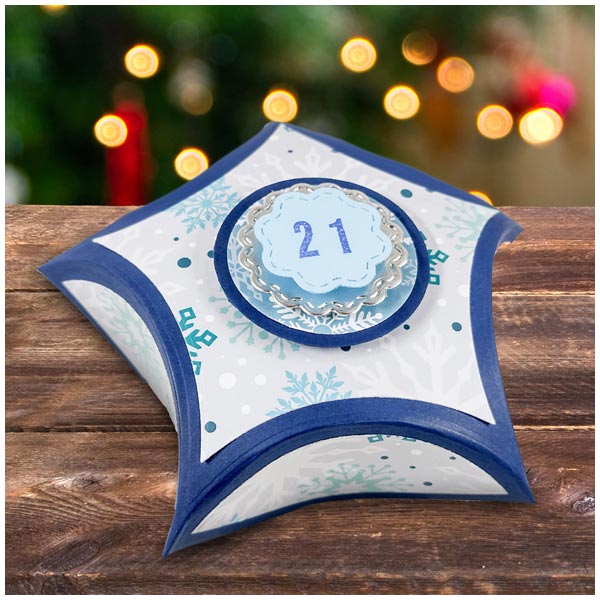
Learn how to make a handmade gift box for all kinds of uses, if you use a template or a set of gift box cutting dies then you can make little boxes perfect for soaps, chocolates, sweets or bottles of wine.
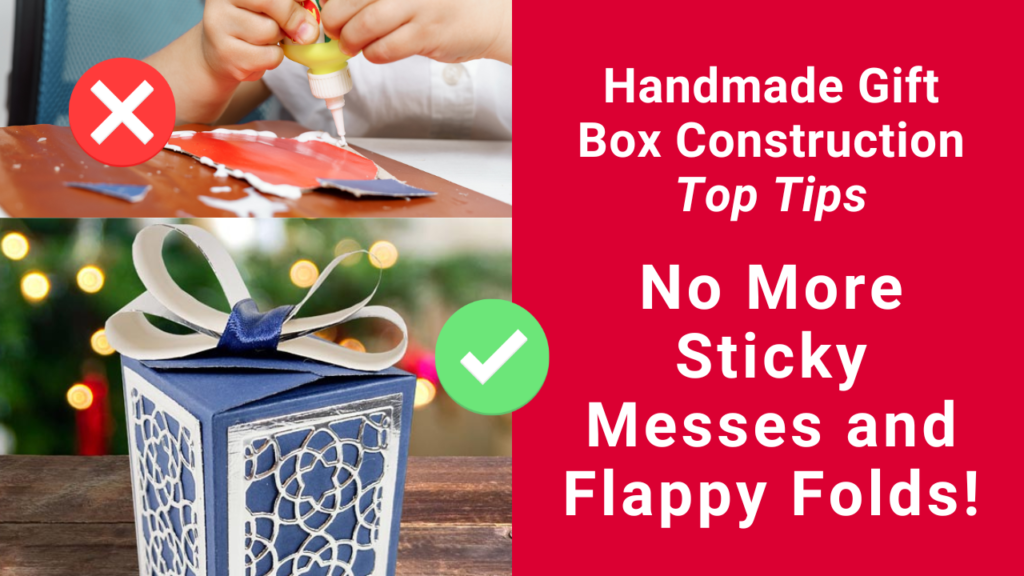
Have you tried and failed, ending up with a sticky mess? Read on for our top gift box making tips from 3D Design Expert Helen Griffin and watch her useful video tutorial.
Handmade Gift Box Top Tips
If you love the idea of creating a handmade gift box but find the reality ends up in a sticky mess with flappy edges then follow Helen's 5 top tips for getting a professional finish
Making handmade gift boxes may sound intimidating, but with a few tips and tricks, you can make sure that your gift bags, gift boxes, and 3D constructions look professional and don't fall apart. Here are some top tips to ensure that your gift boxes look amazing, fit together properly, and last forever!
Scorelines & Bone Folders - Don't Ever Skip This Step!
One of the most important steps in creating a handmade gift box is to ensure that the paper or cardstock you're using is scored and folded properly. Scorelines are essential in creating crisp and precise fold lines. A bone folder is a tool that helps you make a crease in paper or cardstock by creating a line that is slightly indented, making it easier to fold.
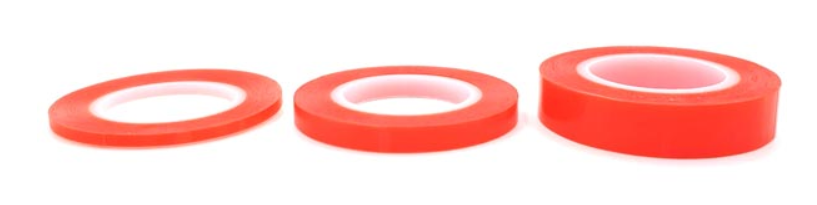
Use the RIGHT Adhesive - Don't Just Rely on Wet Glue
It's important to use an adhesive that is strong enough to hold your gift box together. Don't rely solely on wet glue, which can sometimes take a while to dry and may not hold as well as you'd like. Try using double-sided tape, red liner tape, glue dots or hot glue which are all easy to use and provide a strong hold.
Corners! Make Them Nice and Neat and Avoid Any Flappy Bits!
Corners are an essential part of gift box construction, and it's important to make them neat and precise. Avoid any flappy bits that can make your gift box look untidy. Use the bone folder to create sharp folds at the corners, and ensure the adhesive is right up to the corner.
Die-cutting Layout - Save Time with Savvy Layouts!
If you're using a die-cutting machine to create your gift box, it's important to optimize the layout of the die so that you use the paper or cardstock as efficiently as possible. Try laying out the die on a piece of scrap paper to see how the pieces will fit together before cutting into your good paper or cardstock.
Think Outside the Box - Don't Be Limited by the Picture on the Die-Set, Make Your Gift Boxes Unique
Finally, don't be afraid to get creative and come up with unique gift box designs that are not limited by the picture on the die set. You could add embellishments, cutouts, or even use stencils to create your own designs.
By following these tips and techniques, you'll be able to make handmade gift boxes that look professional and stunning. Remember, the most important thing is to have fun and let your creativity shine through. Happy gift-making!

Recent Posts
-

-
 Categories: All
Creative Ways to Use Cover Plate Dies in Your Cardmaking Projects with New Celebrate Blossoms Release from Justine Hovey
New Celebrate Blossoms from It's Just Paper -
-
-
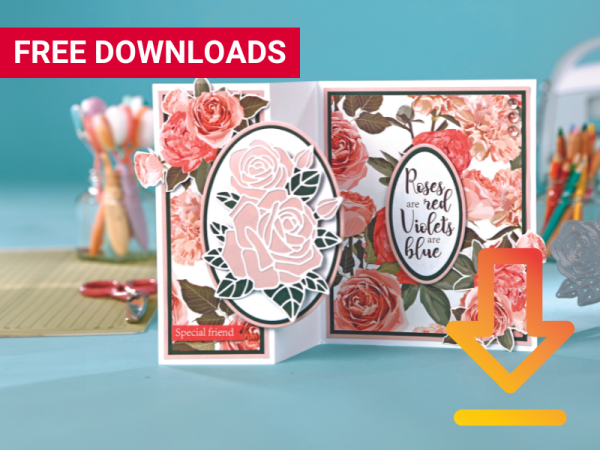 Categories: AllFree Download
Free Rose Design Digital Papers, Toppers and Sentiments!
Free Floral Digital Papers and Digital Stamps

