3 Minute Cardmaking Hack - EASY Foiling with a Laminator
We're going to explore how to foil your card designs using a laminator. This simple technique will add a touch of elegance and shimmer to your creations.

Hello, crafters! We have an exciting three-minute card-making hack to share with you. It's something we've been eager to try out, and it works like a charm. We're going to explore how to foil your card designs using a laminator. This simple and easy foiling technique will add a touch of elegance and shimmer to your creations. So, let's get started!
Materials You'll Need:
- Patterned Papers (particularly those printed with toner ink)
- Foil Quill (in your choice of colours)
- TEXT{ures} Sentiments for All Paper Pack (or any suitable cardstock)
- Laminator
- Copy Paper
- Scissors
Step 1: Choose Your Paper

For this easy foiling technique, you'll want to use patterned papers that are printed with toner ink. Most patterned papers, including Textures brand, use this type of ink. It's essential to have toner ink for the foiling process to work.
Step 2: Prepare Your Foils

Select the hot foils of your choice. In this tutorial, we'll be using gold and silver foils. Make sure to trim the foils to fit the size of your paper or cardstock.
Step 3: Setting Up Your Laminator
Before we start foiling, ensure that your laminator is properly heated up. It usually takes about 30 seconds to a minute for it to reach the desired temperature.
Step 4: Assemble Your Layers

To prevent any foils from sticking out and to guide your cardstock through the laminator, place your cardstock between two sheets of plain copy paper. This will create a protective barrier.
Step 5: Foil Your Design

Now, lay your hot foils over the areas of your patterned paper that you want to foil. In this case, we're foiling the black ink areas for maximum contrast. Make sure your foils are positioned correctly.
Step 6: Pass It Through the Laminator

Carefully slide your layered paper through the laminator. It's a quick process, usually taking only 30 seconds to a minute.
Step 7: Reveal the Magic

Once it's done, carefully peel off the hot foils to reveal the stunning foiled design underneath. The foiled areas will shine beautifully, catching the light in an elegant manner.
Step 8: Experiment and Enjoy
This technique works wonders with patterned papers, but don't hesitate to try it with other materials. Experiment with different foils and colours to create unique and captivating designs for your cards.

There you have it! A simple three-minute card-making hack that adds a touch of glamour to your creations. This easy foiling technique is perfect for creating foiled sentiments and highlights on your cards, giving them a professional and elegant finish.
Don't forget to explore other crafting possibilities with your laminator, and consider adding this versatile tool to your crafting arsenal. We hope you enjoyed this quick guide to foiling with a laminator. Stay tuned for more tips and techniques for card making and papercraft in the future.
Make sure to shop for the materials mentioned in this tutorial at CraftStash and subscribe to the Craft Stash YouTube channel for even more creative inspiration. Happy crafting!
Watch the full video tutorial here!


Recent Posts
-
 Categories: All
New Made To Surprise "Frame It" Collection
New Frame It Collection from made To Surprise -
 Categories: AllFree Download
Made To Surprise Papercraft Society Free Downloads
Free Made To Surprise Papercraft Society Box Downloads! -

-
 Categories: All
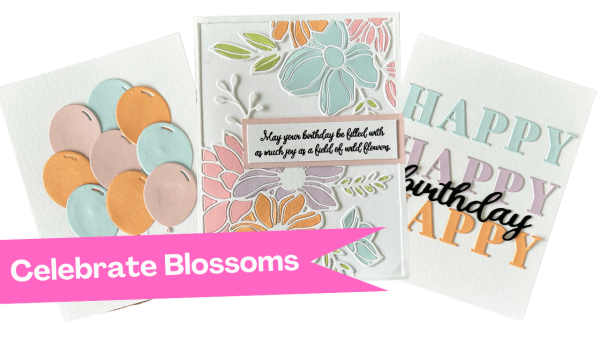
Creative Ways to Use Cover Plate Dies in Your Cardmaking Projects with New Celebrate Blossoms Release from Justine Hovey
New Celebrate Blossoms from It's Just Paper -