Busy Patterned Paper? Here are 3 creative ways to use it!
In this tutorial, our talented designer Lou Collins, shares three brilliant techniques for using heavily patterned papers to create stunning cards
Patterned paper is a staple in any cardmaker's collection, but when they're heavily patterned, it can sometimes be a challenge to know how to incorporate them into your designs without drowning out the rest of the card! In this tutorial, our talented designer Lou Collins, shares three brilliant techniques for using heavily patterned papers to create stunning cards. For her examples, she's using the Dovecraft Naughty or Nice paper collection, the bundle offer is available exclusively to VIPs!

Buy CraftStash VIP for only £9.99 a year - don't miss out!
3 Easy ideas for busy patterned paper:
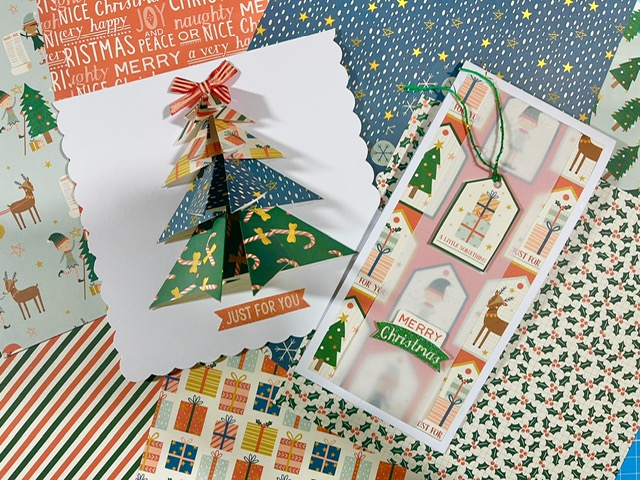
Technique 1: Origami Christmas Tree Cards (featured on our TikTok! @CraftStashTikTok)
Origami might sound complex, but Lou shows us a simple and effective way to turn patterned paper into eye-catching Christmas tree cards. The key is to choose a variety of patterned papers and cut them into squares of different sizes—5x5, 4x4, 3x3, and 2x2 inches. Follow these steps:
- Fold each square in half diagonally, creating a triangle.
- Fold the triangle's corners inwards along the center line to create smaller triangles.
- Assemble the triangles with the largest at the bottom and the smallest at the top, forming a Christmas tree shape.
- Glue the triangles together, adjusting the spacing for your desired tree height.
- Embellish your tree with elements from the kit, like a red bow and sentiment topper.
The result is a stunning Christmas tree card with dimension, that shows off the beautiful patterned papers!

Technique 2: Softened Background with Vellum/Parchment
When dealing with heavily patterned papers, Lou's approach is to balance the pattern by adding a vellum or parchment overlay. This technique means you can tone down a card, while still seeing the gorgeous pattern! Here's how:
- Trim the patterned paper to the desired width, leaving some space on the edges.
- Cut a piece of vellum or parchment paper to match the trimmed patterned paper.
- Adhere the vellum/parchment paper over the patterned paper, folding the edges for a neat finish.
- Embellish the card!
This method creates a background that lets your main elements stand out and doesn't overwhelm the design.
Technique 3: Coordinated Envelope Liner
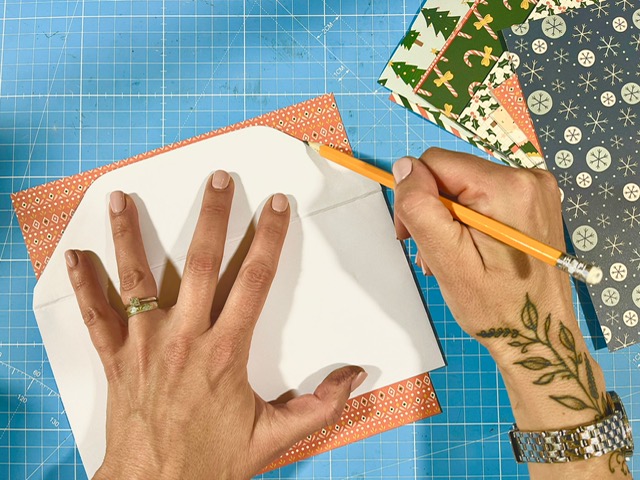
To carry a theme throughout your card, don't forget about the envelope! Lou's final technique involves creating a coordinating envelope liner using the same patterned paper. Here's how:
- Turn the patterned paper over and place the envelope's lip on it.
- Lightly trace around the envelope's edge and fold line.
- Cut along the traced lines to create a custom liner that fits inside the envelope.
- Fold the liner along the fold line and adhere it inside the envelope.
- If desired, use the extra strip to embellish the front of the envelope.
By lining the envelope with the same pattern, you can add an extra special touch to your cards!
So go ahead and experiment with these techniques using your favourite patterned papers to craft beautiful and unique cards! Happy crafting ?
Watch Lou's patterned paper video on the CraftStash channel:
Recent Posts
-
 Categories: All
New Made To Surprise "Frame It" Collection
New Frame It Collection from made To Surprise -
 Categories: AllFree Download
Made To Surprise Papercraft Society Free Downloads
Free Made To Surprise Papercraft Society Box Downloads! -

-
 Categories: All
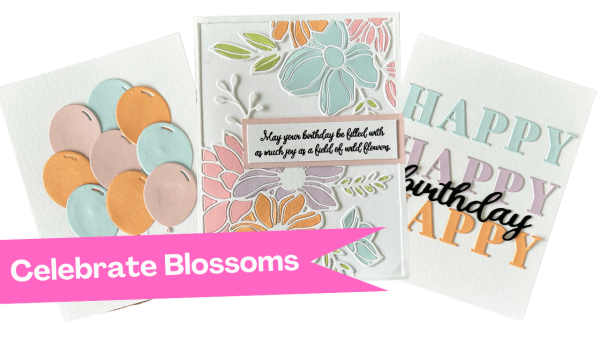
Creative Ways to Use Cover Plate Dies in Your Cardmaking Projects with New Celebrate Blossoms Release from Justine Hovey
New Celebrate Blossoms from It's Just Paper -