Custom Christmas Cricut Gift Tags with FREE Template
Looking to add a personal touch to your gifts this holiday season? In this step-by-step tutorial, we'll show you how to create your own custom christmas cricut gift tags using a free SVG file that we provide.

Looking to add a personal touch to your gifts this holiday season? Creating your own custom christmas cricut gift tags is a fantastic idea. With the help of a Cricut machine and some craft supplies, you can make beautifully crafted Christmas-themed tags that are sure to impress your friends and family. In this step-by-step tutorial, we'll show you how to create your own custom christmas cricut gift tags using a free SVG file that we provide. These custom christmas cricut gift tags are perfect for the festive season, but you can use them for any occasion. So, let's get crafting!
Materials You'll Need:
- Cricut Machine
- Craft Stash tools and materials (optional)
- Cardstock
- Ribbon, twine, or string
- FREE SVG download (see link below)
Step 1: Preparing Your SVG

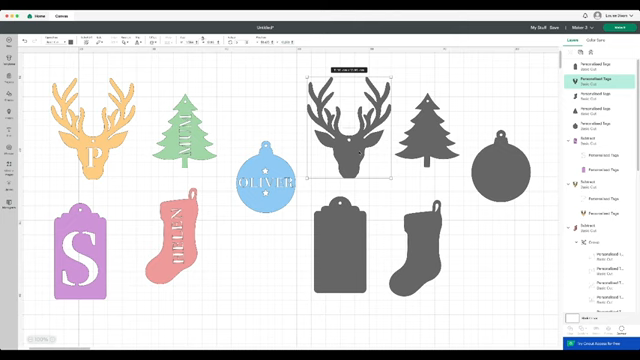
Once you've downloaded your free SVG file, open it in Cricut Design Space. By default, all the elements will be grouped together, so ungroup them. Your SVG file includes five different tag shapes and an alphabet.
Tip: If your tags need names with duplicate letters, make a few extra copies of the alphabet. Place these duplicates close together, so they're easily accessible when you're personalising each tag.
Step 2: Personalising the Tags
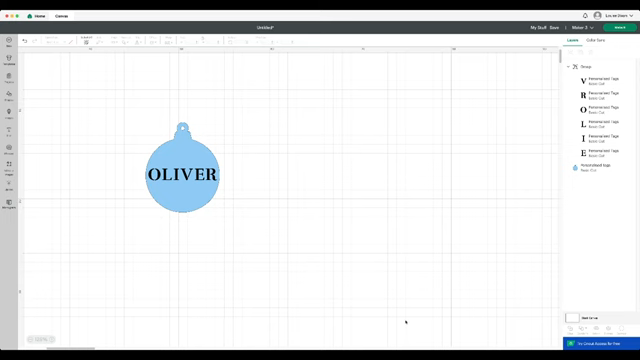
Start by selecting one of the tag shapes and remove the rest. In the Layers tab, make sure your tag is at the bottom of the layer order.
Change the color of your tag and keep the alphabet black for better visibility. Now, ungroup the alphabet and select the letters for the name you want to add.
Once you've chosen the letters, group them together and adjust their size if needed. Next, bring back the tag shape and adjust the name inside so it looks just right.
Step 3: Creating Your Custom Design
Now that your tag looks perfect, you can further customise it. If you want to add additional elements like snowflakes, follow the same steps for combining and subtracting as you did for the name. Play around with these elements until you're satisfied with your design.
Step 4: Sending to Your Cricut
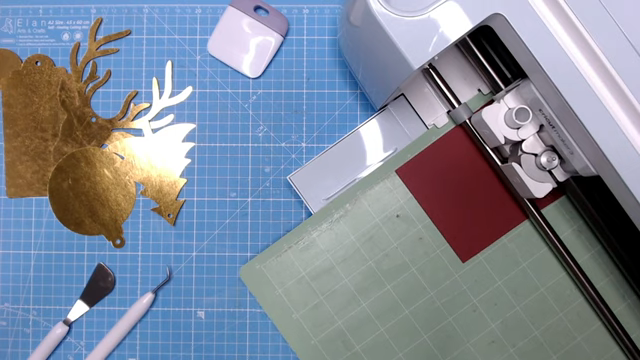
Once you've created all the personalised tags you need, send them to your Cricut Machine. Duplicate each shape before cutting to create a back mat without the cut-out name. This mat will help the name stand out more.
Watch as your Cricut Machine works its magic, cutting out your beautifully designed gift tags.
Step 5: Assembling Your Tags
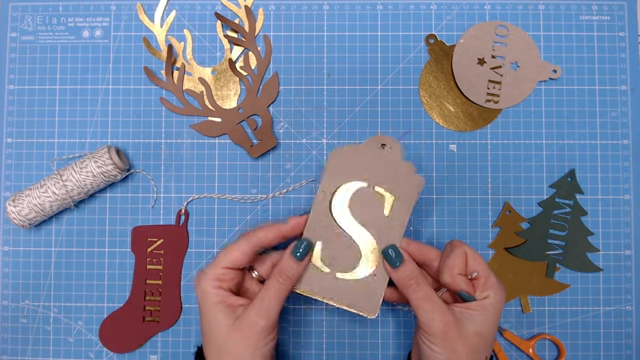
With your shapes now cut out, you can assemble your tags. Place the cutout piece on top of the base layer. The contrast between the two will make your design pop.
Thread a piece of ribbon, twine, or string through the hole at the top of each tag. Your tags are now ready to be attached to your special gifts.
Step 6: Get Creative!
Feel free to unleash your creativity with these custom christmas cricut gift tags. You can use different materials, colors, and shapes to match any occasion or theme. We've even included a simple tag template in your SVG download to help you create tags for various events, from birthdays to weddings.

So there you have it – a quick and easy way to make custom christmas cricut gift tags for your loved ones. Get started with your free SVG download and create unique tags that will add a special touch to your gifts.
Don't forget to subscribe to the CraftStash YouTube channel for more crafting tips and tutorials. If you enjoyed this project, you'll definitely love this video. Happy crafting!
Download your FREE Template below:
Watch the full video tutorial here!
Related Products
-

 Cricut Explore 3 Smart Digital Cutting Machine Seafoam | EU Adapter & UK Plug£281.67 RRP £299.99 Save £18.32

Recent Posts
-
 Categories: All
New Made To Surprise "Frame It" Collection
New Frame It Collection from made To Surprise -
 Categories: AllFree Download
Made To Surprise Papercraft Society Free Downloads
Free Made To Surprise Papercraft Society Box Downloads! -

-
 Categories: All
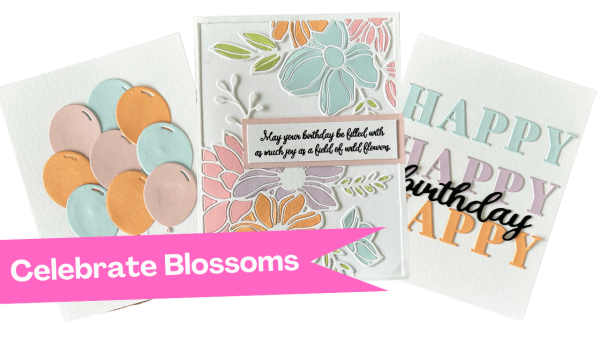
Creative Ways to Use Cover Plate Dies in Your Cardmaking Projects with New Celebrate Blossoms Release from Justine Hovey
New Celebrate Blossoms from It's Just Paper -