HALLOWEEN Kinetic Cat Card Tutorial!
Looking for some inspiration for a Halloween card? You're in luck! Follow this tutorial, or scroll down and watch the full video from Sam, to create a cute kinetic Halloween card!
Create a Cute Kinetic Halloween Card with New Made to Surprise Collection!
Looking for some inspiration for a Halloween card? You're in luck! Follow this tutorial, or scroll down and watch the full video from Sam, to create a cute kinetic Halloween card!

Introducing the Spooktacular Collection
In this brand-new paper based collection, you'll find 32 sheets of premium foiled cardstock, perfect for creating stunning halloween crafts. The paper pack includes six foiled die-cut topper sheets, ten foiled pattern papers, and sixteen pattern papers. The collection features various cute characters and motifs, including skeletons, spiders, bats, cats, witches, and ghosts (Sam's fave!).
You'll also find foiled sentiments, washi tape, ephemera and a handy 'perfect colours' paper pack.


Getting Started: Using the Puppet Mechanism Template
One of the exciting additions to this collection is a versatile template that allows you to create kinetic elements on your cards. With this template, you can easily add movement to your puppets and make your designs come to life. So if you haven't got the puppet mechanism Die you can still have fun creating these fun kinetic cards.

Step 1: Choosing Your Card Size
Begin by selecting the size of the card you want to create. Whether it's a standard 5x7 card or something different, the template can be adapted to fit any size.
Step 2: Preparing the Puppet Elements
Cut out the puppet elements from the sheets. Each character comes with two sheets, ensuring you have plenty of pieces to work with.
Step 3: Using the Template
The template included in the collection can add a dynamic touch to your card designs. Position it on your cardstock and trace around it. The template offers various holes for attaching mechanisms and creating movement. Cut along the lines and punch holes where needed.
Step 4: Assembling the Mechanism
Insert brads through the holes to create pivot points for your puppet's movement. Attach the limbs of the puppet to the brads, ensuring they move freely. The foam pads provided in the collection help create space between the layers, allowing for smooth movement.
Step 5: Adding Pull Tab for Easy Movement
To ensure easy movement of the puppet, add a pull tab. You can either use the included arrow or draw your own.
Step 6: Embellishing and Finalising
Embellish your card with other elements from the collection, such as bats or sentiments. You can use stamps, heat embossing, or even draw on your card if you're feeling extra artsy!
Step 7: Finishing Touches
Once everything is in place, attach the puppet mechanism to the card base using foam pads for dimension. Make sure your puppet is moving smoothly!
Step 8: Enjoy the Result
Your cute kinetic Halloween card is ready to WOW anyone who receives it!

Get Crafting!
We hope you've enjoyed this tutorial on creating a cute kinetic Halloween card using the new Made to Surprise Spooktacular Collection. Be sure to explore the entire collection and let your creativity run wild. Happy crafting!
Don't forget to check out the CraftStash YouTube channel for more inspiration and tutorials!
You can find Sam's full video here!
Recent Posts
-
 Categories: All
New Made To Surprise "Frame It" Collection
New Frame It Collection from made To Surprise -
 Categories: AllFree Download
Made To Surprise Papercraft Society Free Downloads
Free Made To Surprise Papercraft Society Box Downloads! -

-
 Categories: All
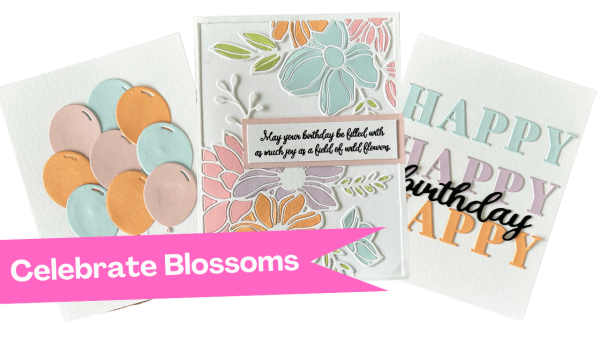
Creative Ways to Use Cover Plate Dies in Your Cardmaking Projects with New Celebrate Blossoms Release from Justine Hovey
New Celebrate Blossoms from It's Just Paper -