Make Your Own DIY Washi Tape Strips with TEXT{ures} Woodlands
We'll show you how to make your own washi tape strips using a simple and fun technique. We'll be using TEXT{ures} Woodlands paper in creating these washi tape strips.

Are you a crafting enthusiast looking for a cost-effective way to stretch your crafting supplies further? Look no further! In this tutorial, we'll show you how to make your own DIY washi tape strips using a simple and fun technique. We'll be using TEXT{ures} Woodlands paper in creating these washi tape strips. These strips are perfect for adding texture to your projects and can be customised to match any theme or style. So, grab your crafting materials and let's get started!
Materials You'll Need:
Single-sided Tape
TEXT{ures} Woodlands paper (or any patterned or textured paper)
Spray bottle with water
Scissors
Crafting Mat
Kitchen towel or paper towel
Step 1: Choose Your Paper

Begin by selecting the patterned or textured paper you want to use. In this tutorial, we'll be using patterned papers from TEXT{ures} Woodlands. You can use any patterned paper that catches your eye. The key is to experiment with different patterns to achieve various looks.
Step 2: Apply Sticky Tape
Lay a strip of clear single-sided sticky tape over the section of the paper you want to use for your washi tape strip. You can choose a section with both pattern and text for added texture. Ensure the tape adheres firmly to the paper.
Step 3: Trim the Edges

Use scissors to trim the edges of the tape, making sure it aligns with the edges of the paper.
Step 4: Wet the Paper
Place your paper with the attached tape on a resistant surface. Using a small spray bottle filled with water, spray the back of the paper generously. The paper may start to curl or bubble initially, but that's perfectly normal. Allow the water to soak in.
Step 5: Rub Away the Paper

Once the water has had a chance to soak in, use your fingers to gently rub the surface of the paper in small circular motions. You'll notice that the paper will start to peel back, revealing the design underneath. Be gentle to avoid damaging the print beneath.
Step 6: Reapply Water as Needed
If you find that the paper isn't coming off easily, re-spray the area with water and let it soak for a bit longer. You can repeat this process until you've removed as much paper as you can without damaging the print underneath.
As you work, the paper will become more translucent, and the design will start to shine through. The more water you use, the less likely you are to peel off the colour. So, be generous with the water and keep gently rubbing the paper to reveal the pattern.
Step 7: Final Touches

Once you've removed all the excess paper and are satisfied with the transparency of your washi tape strip, let it dry for a moment. Then, you can adhere it to your project using any clear-drying glue or decorative clips. Use it on cards, envelopes, scrapbook pages, journals, or any other crafting project.
Voila! You've created your very own custom washi tape strip to add a unique and textured touch to your crafting projects.
Whether you're a mixed media enthusiast or simply love adding a distressed or subtle look to your crafts, this DIY washi tape technique is a fantastic way to elevate your projects. Experiment with various patterned papers to create different effects. Enjoy your creative journey!
If you want to explore more crafting techniques, consider subscribing to the Craft Stash Channel for more inspiring ideas. Happy crafting!
Watch the full video tutorial here!
Recent Posts
-
 Categories: All
New Made To Surprise "Frame It" Collection
New Frame It Collection from made To Surprise -
 Categories: AllFree Download
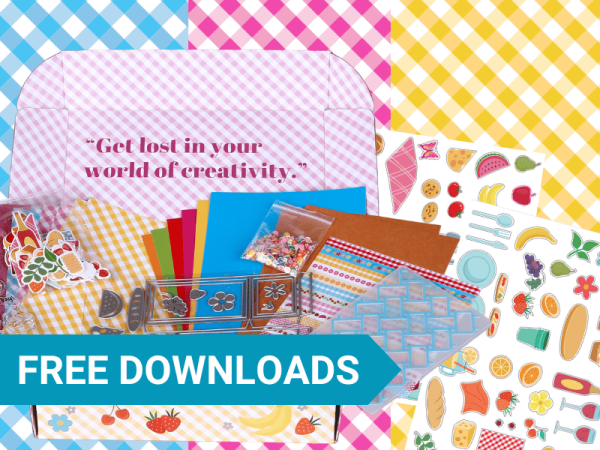
Made To Surprise Papercraft Society Free Downloads
Free Made To Surprise Papercraft Society Box Downloads! -

-
 Categories: All
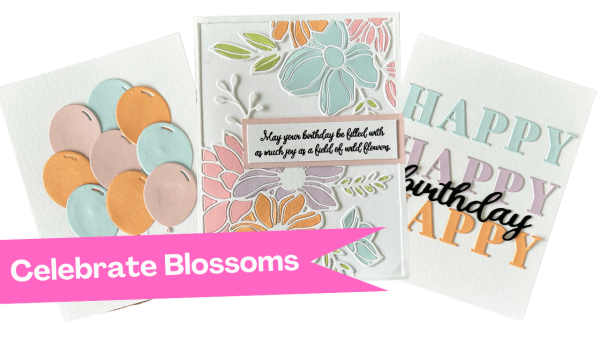
Creative Ways to Use Cover Plate Dies in Your Cardmaking Projects with New Celebrate Blossoms Release from Justine Hovey
New Celebrate Blossoms from It's Just Paper -