PARTIAL DIE-CUTTING TECHNIQUE with Sam Calcott
Partial die-cutting technique using the new Get in Shape New Home die-set from Creative Craft Products

Are you ready for a delightful crafting adventure? Craft Stash has just launched six fantastic shaped card die sets, and in this post we're diving into the "Through the Keyhole" design. This tutorial will guide you through creating a charming house-shaped card that's perfect for any occasion. Watch the full partial die-cutting video tutorial at the end of this blog post.
Take a look at the new collection exclusively available to CraftStash - Get In Shape - Creative Craft Products.

Materials You'll Need:
- "Through the Keyhole" die set (or your chosen design)
- 6x6 card blank (or adjust to your preferred size)
- Low tack tape
- Stencil brush
- Colored ink pads
- Foam tape
- Silver cardstock
- Double-sided foam tape
- Sentiment dies (e.g., "New Home" or "Memory")
- Floral and fence dies (optional)
- Birds and other embellishments (optional)
Step 1: Die Cutting the Card Base

Place your chosen die (e.g., "Through the Keyhole") on the side of a 6x6 card blank. Adjust the size if needed. Align the die, leaving the left side without a cutting line and ensuring the bottom cut line doesn't touch the card's base. Secure the die with low tack tape. Run it through your die-cutting machine, making sure it lines up with the card fold's score line. Trim the top section of the card as needed for your design.
Step 2: Adding Mat Layer:
Cut a mat layer to fit the inside of the card. Stick the mat layer inside the card, leaving space to write your message behind the die-cut design.
Step 3: Die Cutting Doors and Windows

Using the door and window dies, cut enough pieces to match the design on the card front (usually five). You can follow the design on the card front or arrange them differently as desired.
Step 4: Adding Details
Cut the roof section partially if needed and add it to the card front with foam tape for dimension. Apply ink to the door and other details using a stencil brush. For added dimension, cut out your chosen sentiment from silver cardstock and adhere it with foam tape.
Step 5: Decorating the inside

Optionally, use floral and fence dies to create additional decorations for the inside of the card. Customize your card further with birds and other embellishments if desired.
Step 6: Final Touches
Add accents and details, such as shine to the windows or other decorative elements. Personalize your card and make it uniquely yours.
Your delightful house-shaped card is ready to impress! Share it with friends and family for any special occasion. Explore Craft Stash's range of shaped card die sets and get creative with your card-making. Whether you choose "Through the Keyhole" or one of the other wonderful designs, crafting your own unique cards has never been more fun. Don't forget to check out the Craft Stash website and consider becoming a VIP member for fantastic discounts and exclusive benefits.
Thank you for crafting with us, and we look forward to sharing more inspiring tutorials with you soon!
Watch the video tutorial here!
Related Products


Recent Posts
-
 Categories: All
New Made To Surprise "Frame It" Collection
New Frame It Collection from made To Surprise -
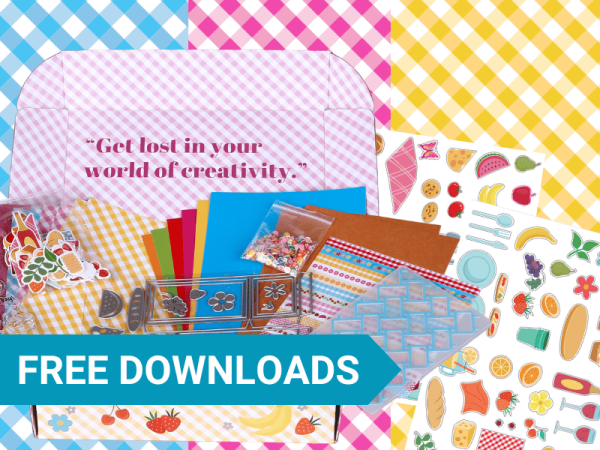 Categories: AllFree Download
Made To Surprise Papercraft Society Free Downloads
Free Made To Surprise Papercraft Society Box Downloads! -

-
 Categories: All
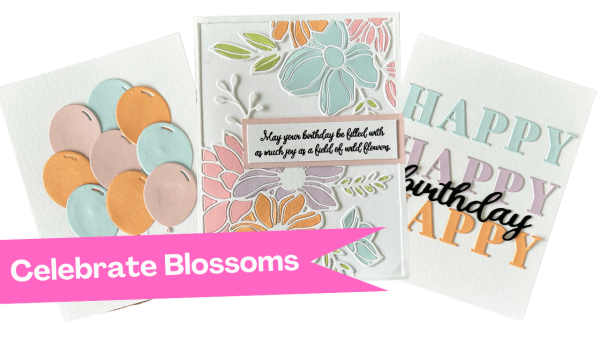
Creative Ways to Use Cover Plate Dies in Your Cardmaking Projects with New Celebrate Blossoms Release from Justine Hovey
New Celebrate Blossoms from It's Just Paper -